Campaign: Create Your Own Outbound Campaign
A step-by-step guide to creating a campaign, including how to set specific times and number of attempts, when to launch it, and what to monitor during the first calls.
Written By Product
Last updated 4 months ago
The campaign is where you set up the agent, the phone number to call from, and the contact list. This is where it all starts.
Before creating the campaign, you’ll need a voice agent that’s already set up and a phone number associated with that agent.
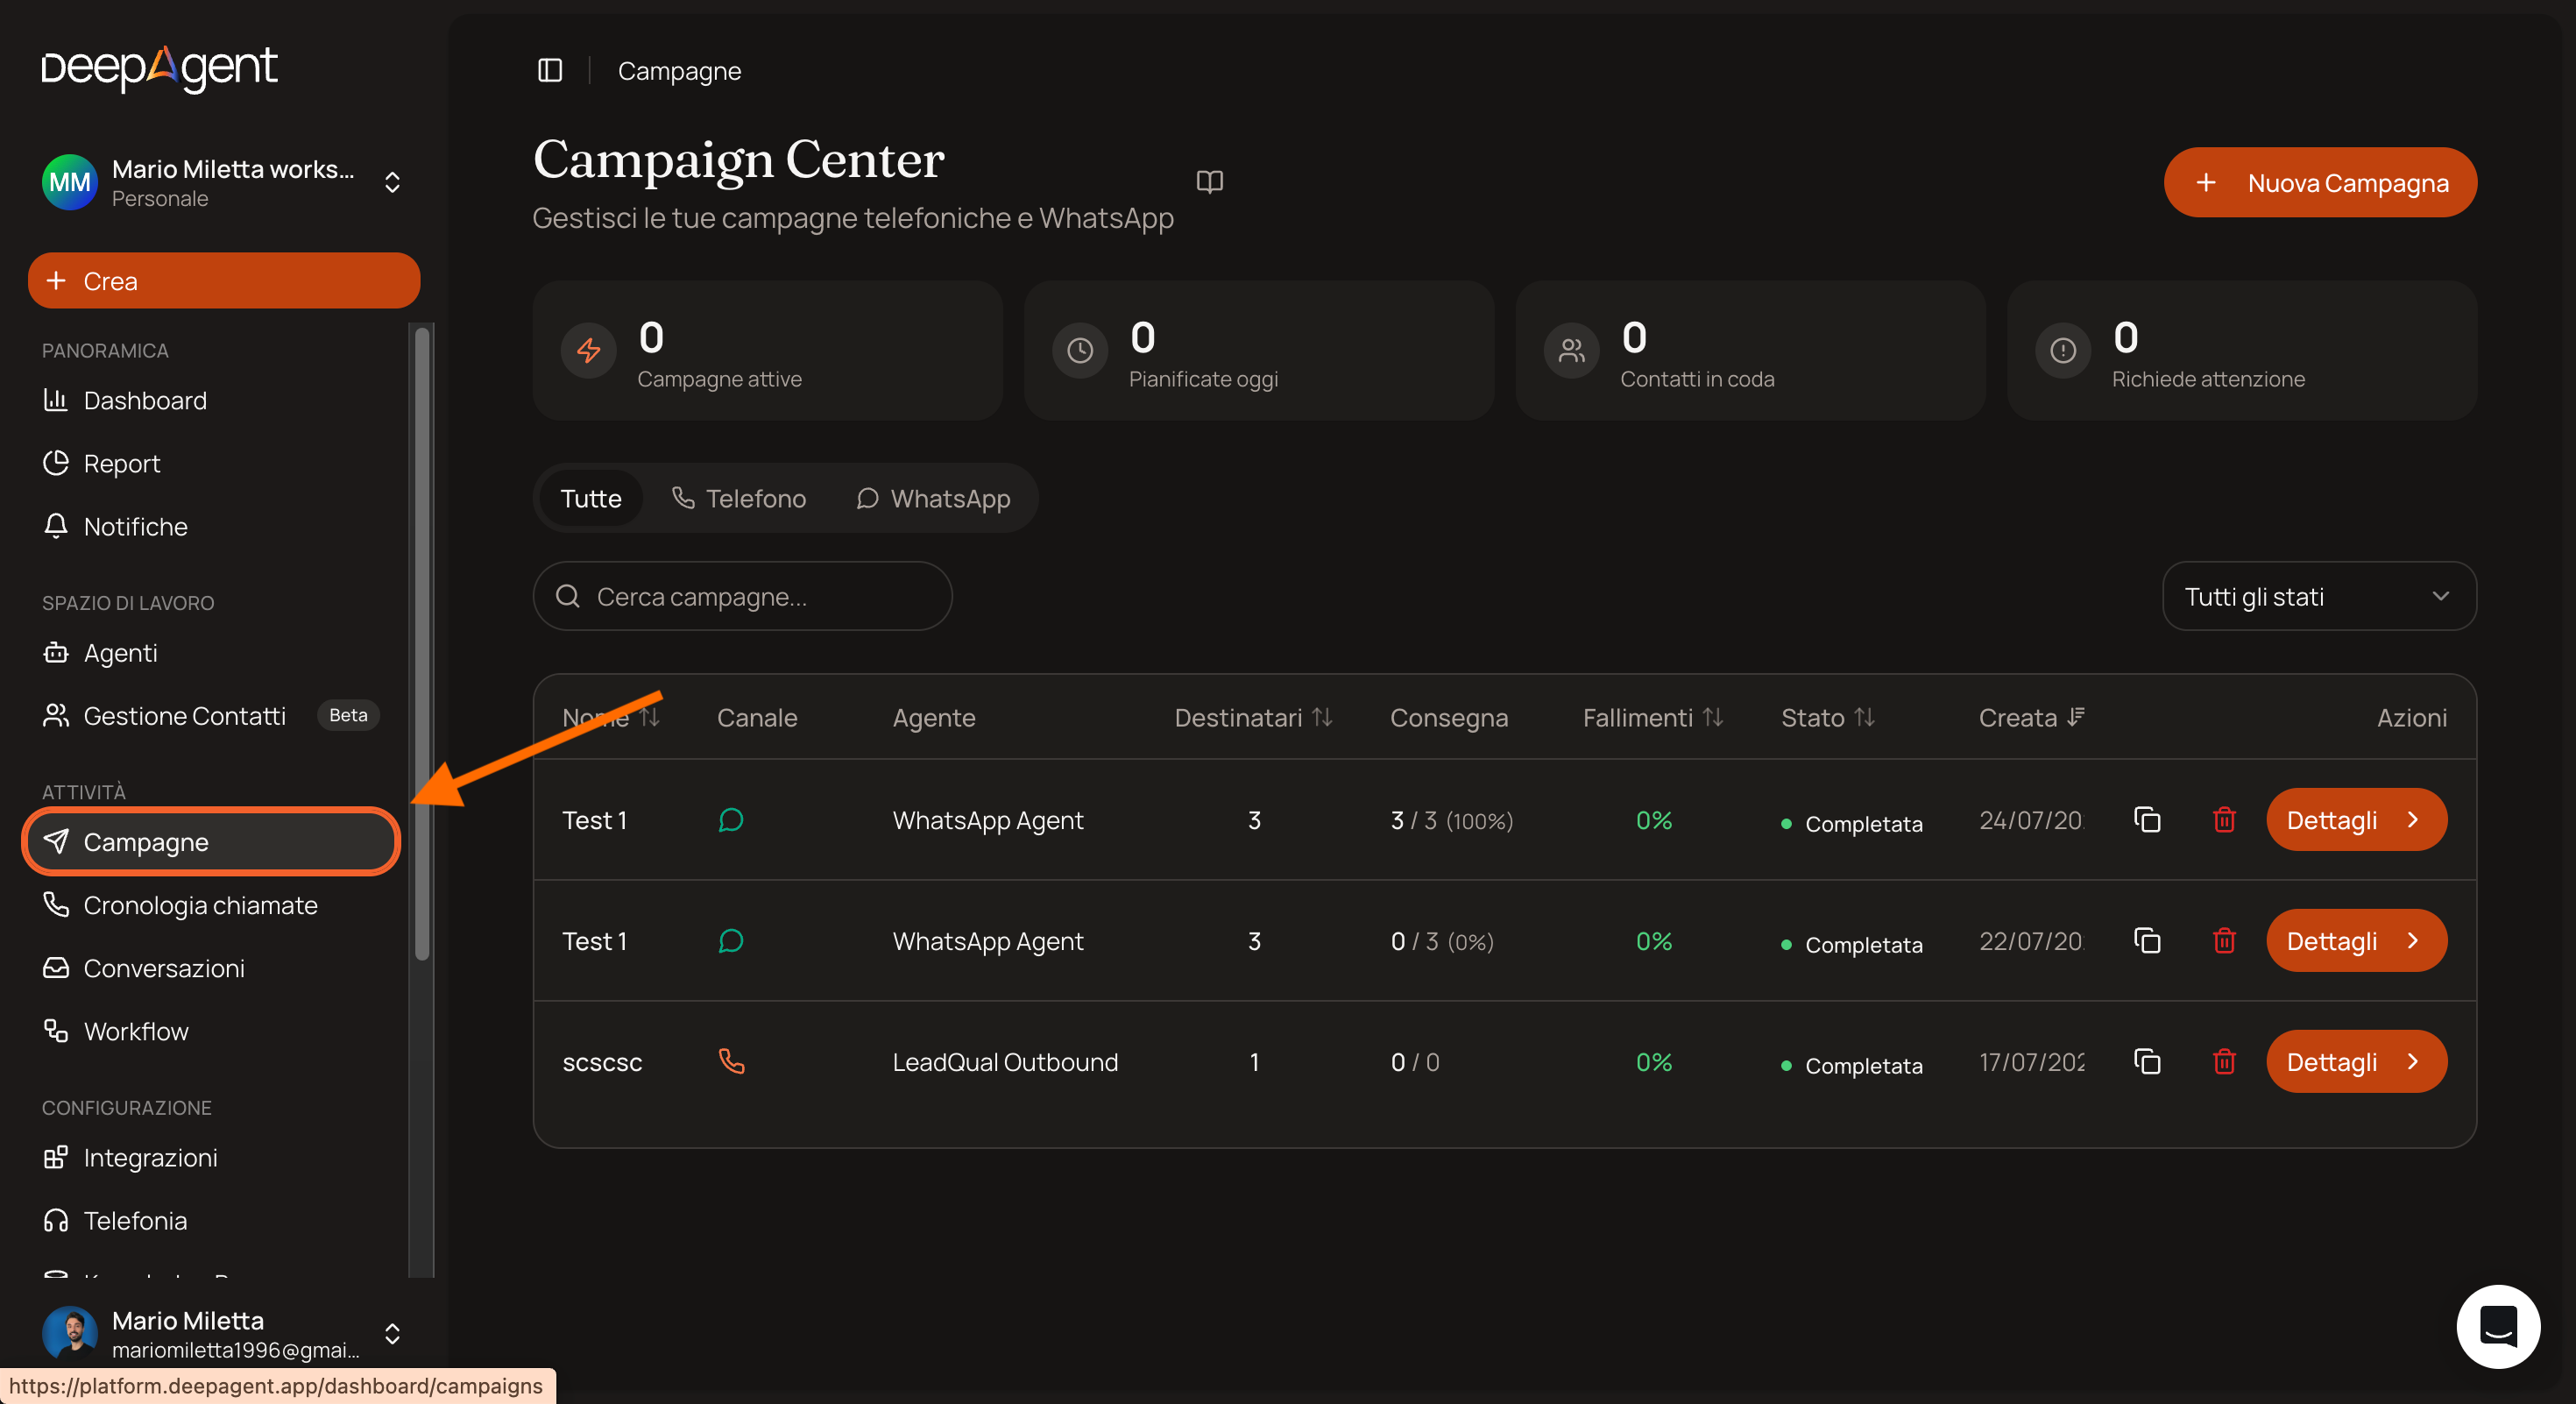
1. Open the Campaigns section
Click Campaigns in the side menu.
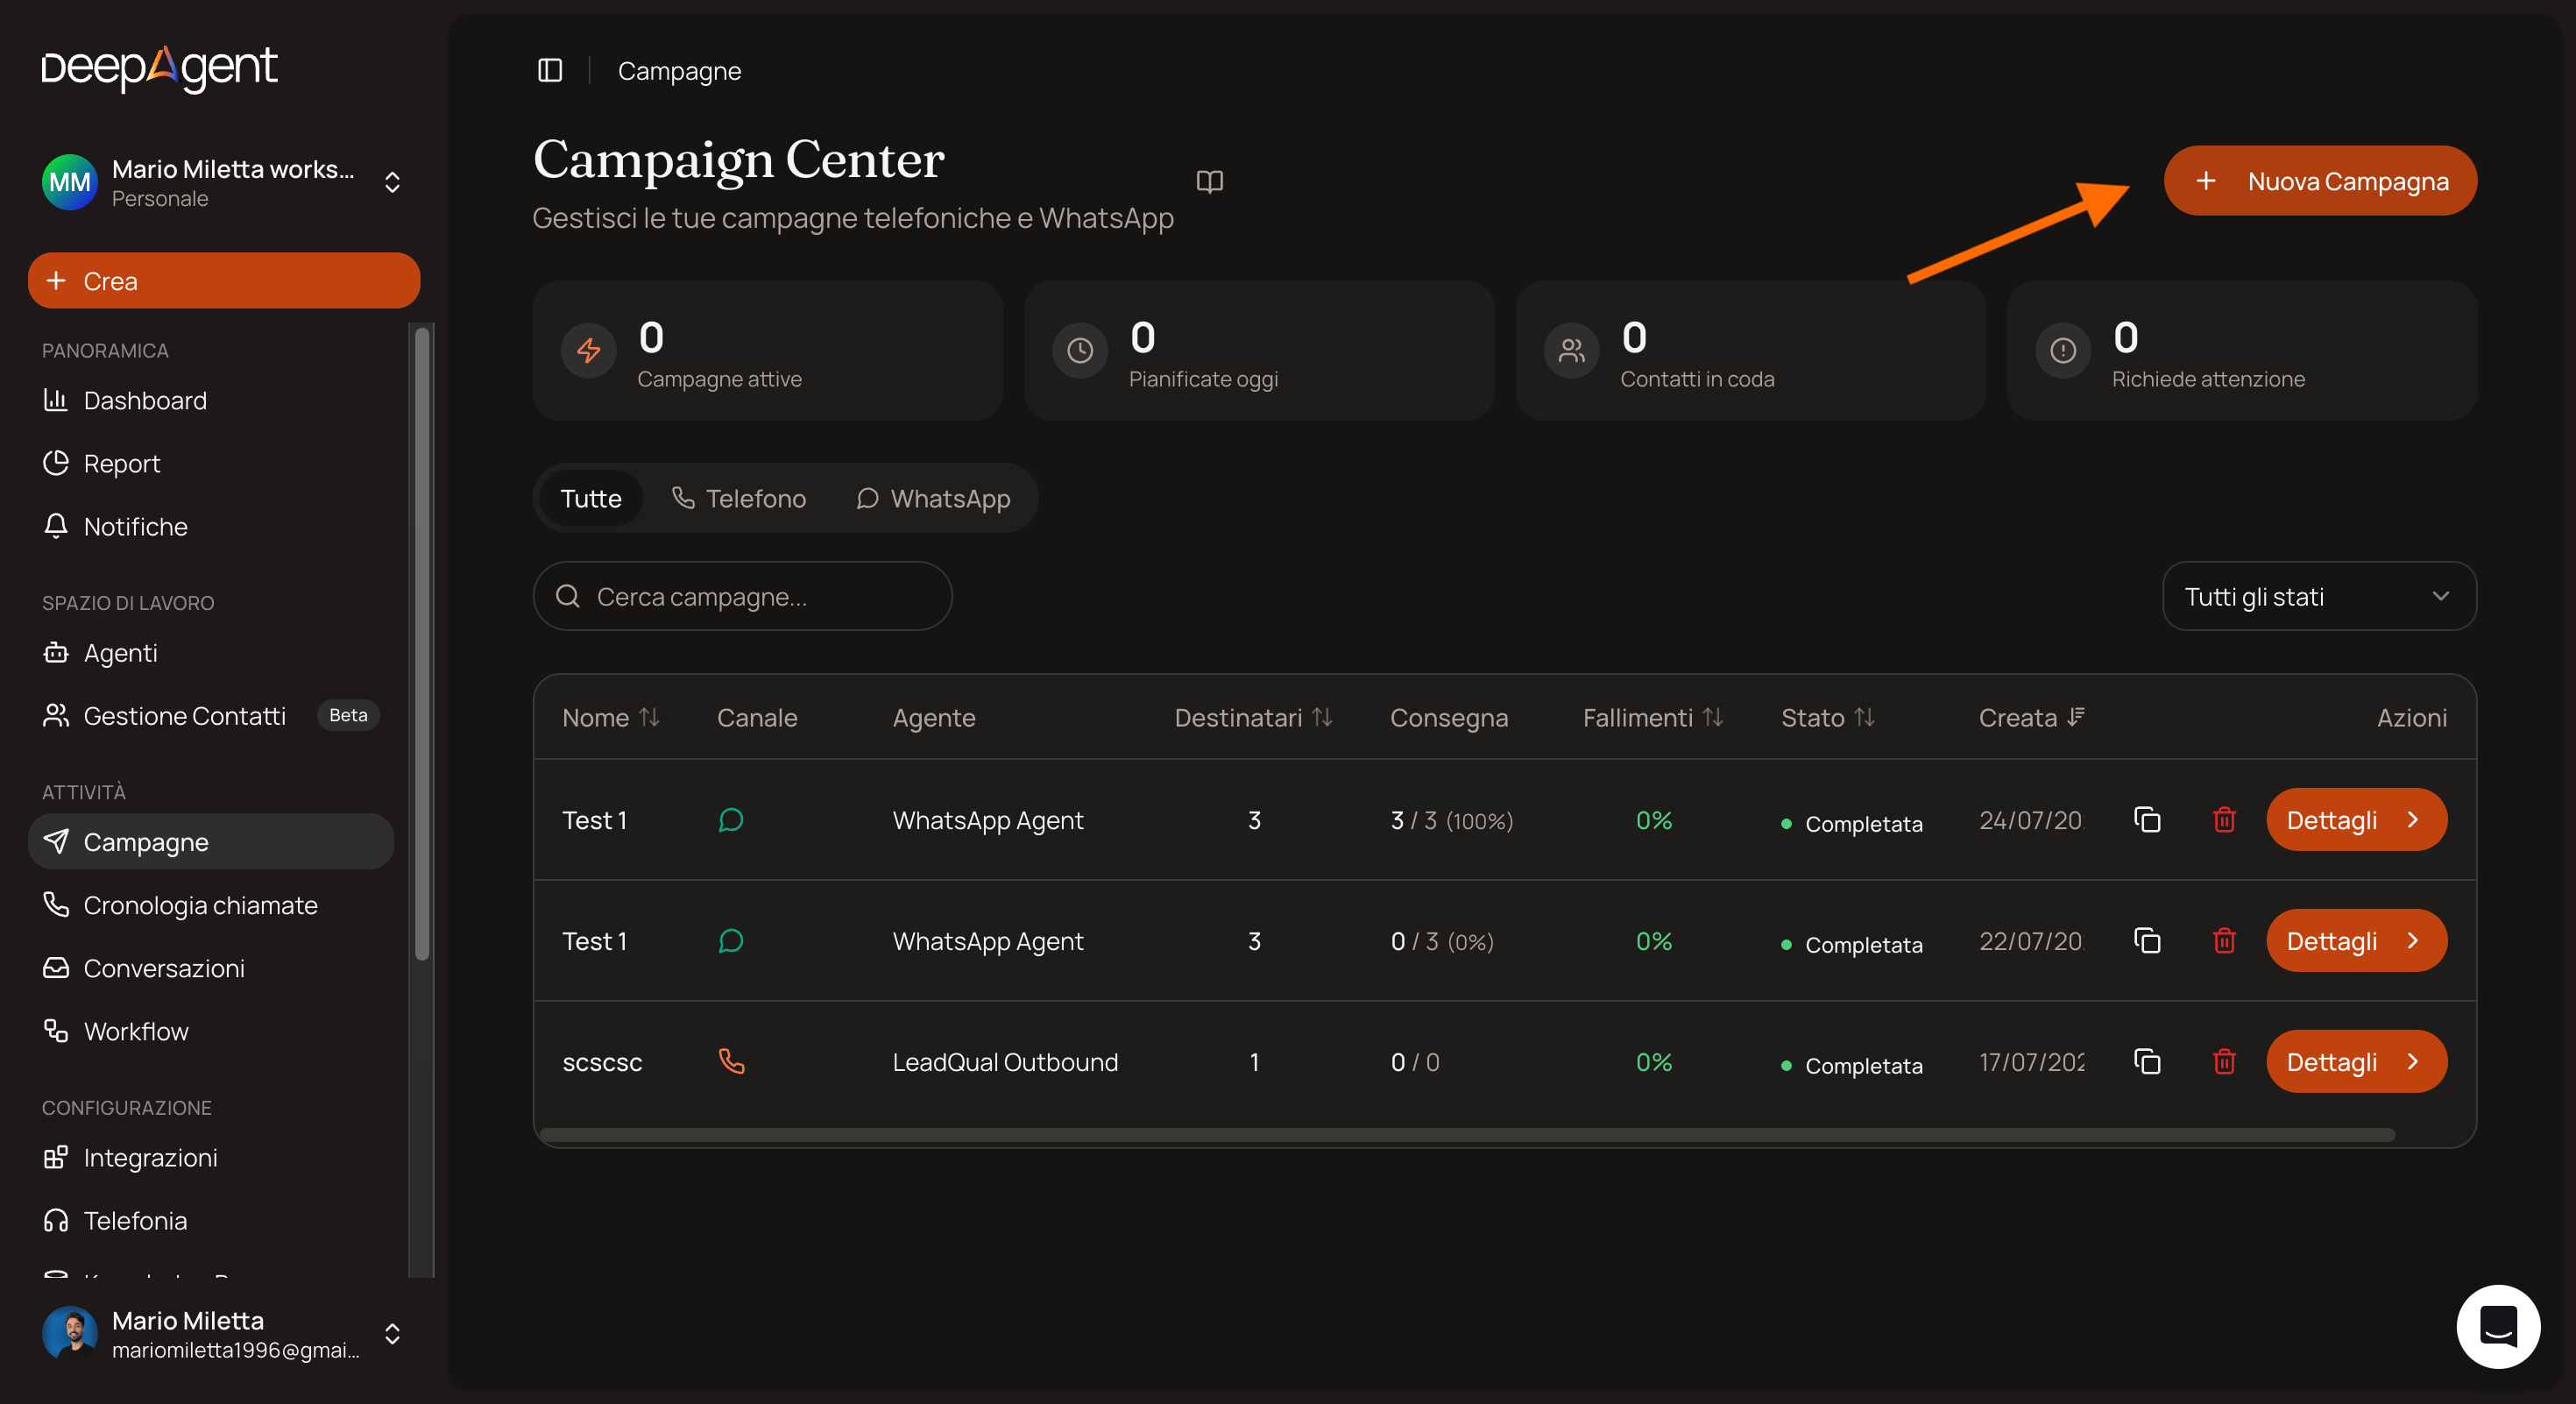
2. Create a new campaign
From the Campaigns page, click New Campaign.
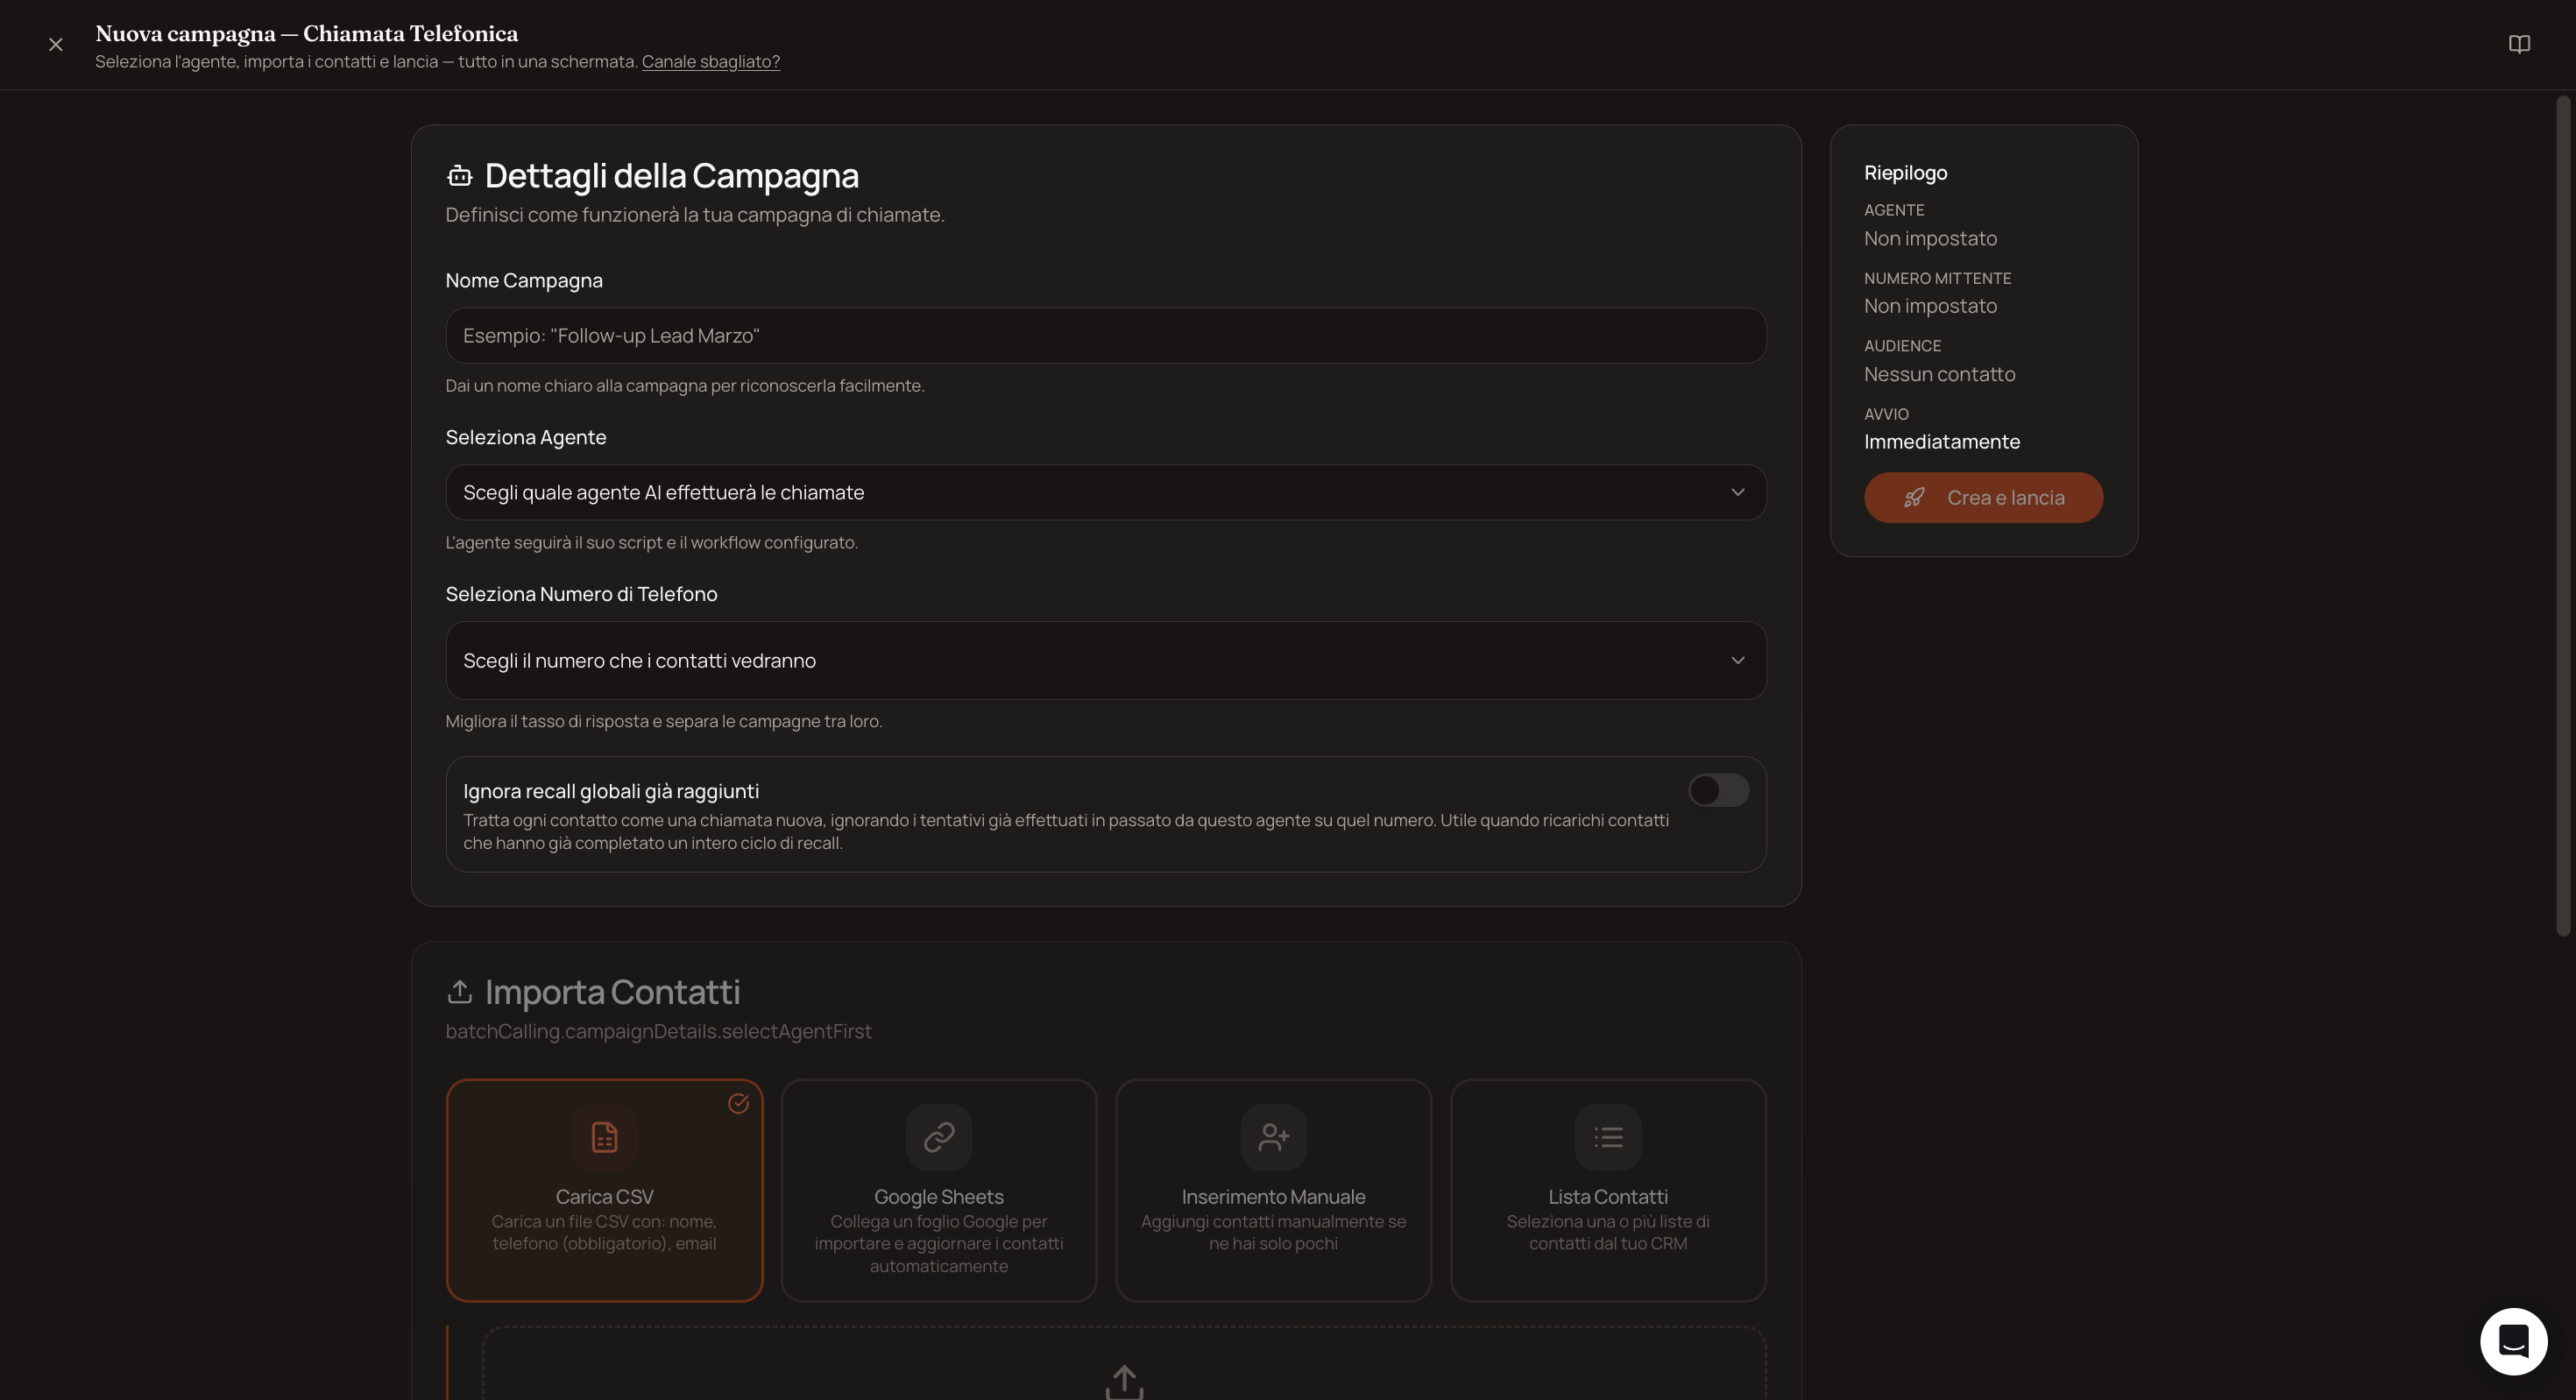
3. Name, agent, and number
On the creation page, set the following:
a name for the campaign—choose one you’ll recognize a month from now, not “Test 3”
the outbound agent who will make the calls
the phone number the calls will be made from
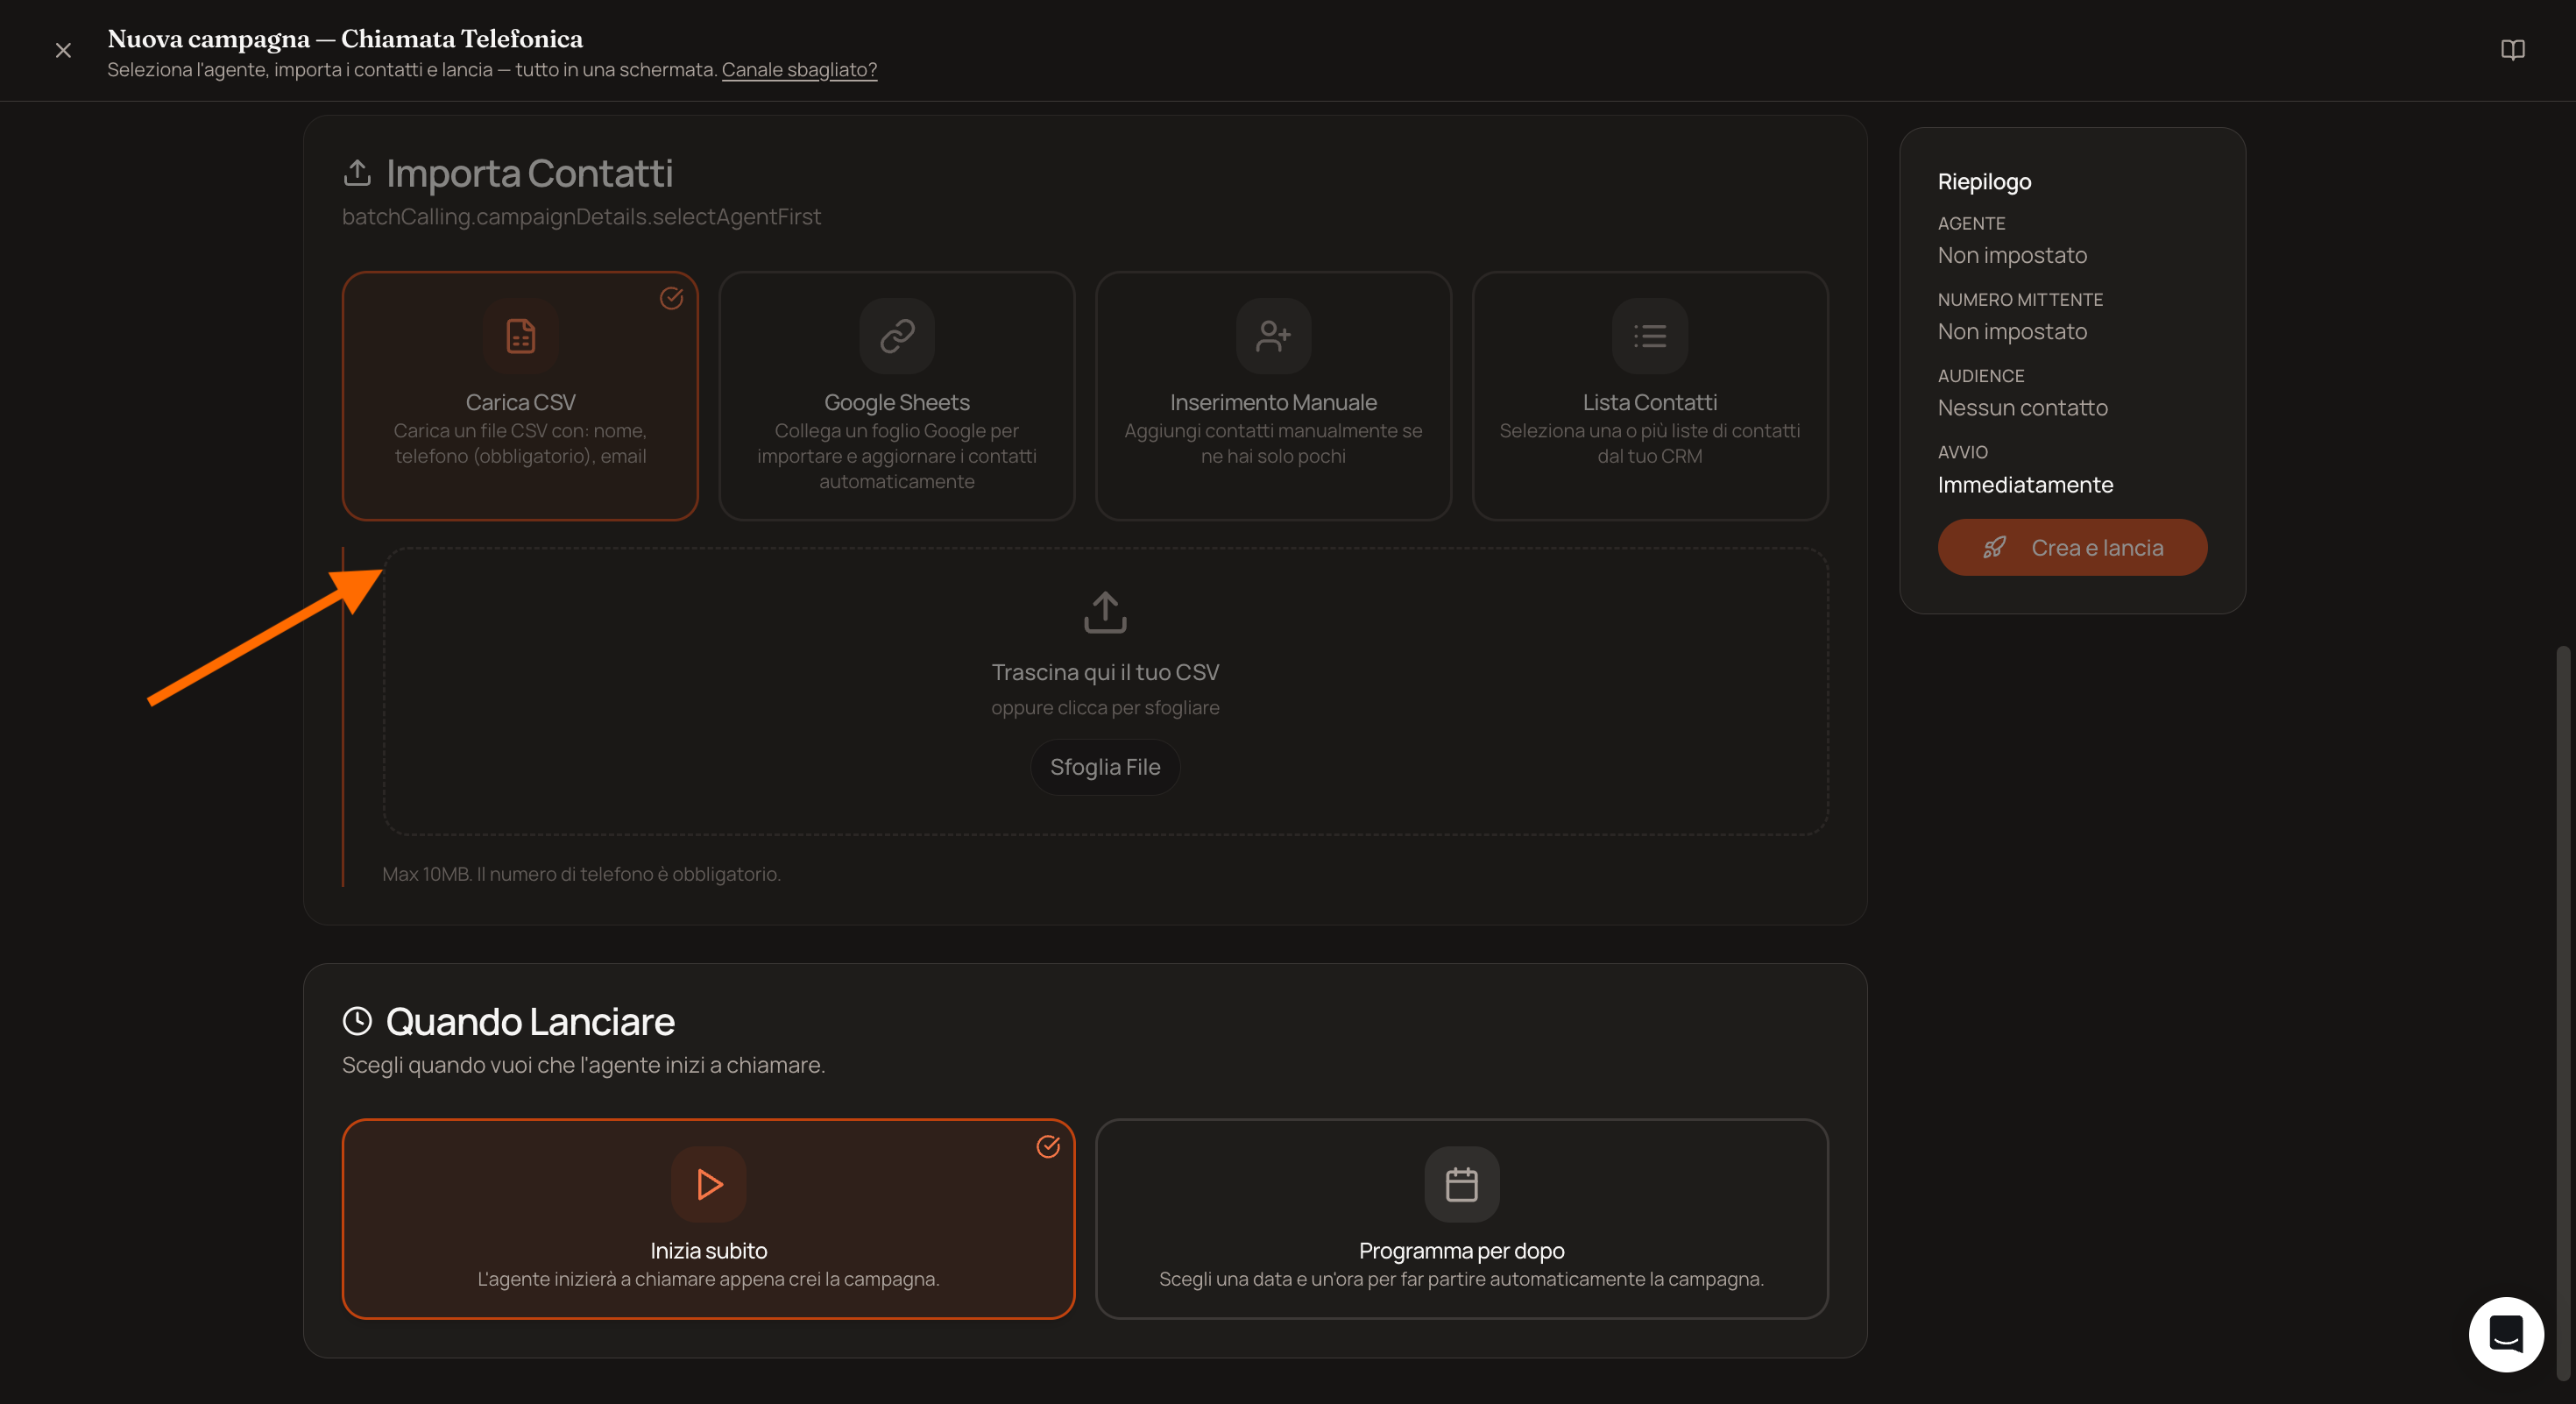
4. Upload contacts
In the contact import section, you can upload a CSV file, link a Google Sheet, or enter the numbers manually.
It’s essential that the list contains a column with phone numbers. After uploading, map the fields so the agent knows what each column in the file corresponds to.
⚠️ Call times, attempts, and frequency are not set here. These are agent-level settings, not campaign-specific: you’ll find them in the Advanced Builder.
Set them before launching—see the article on the Advanced Builder.
Specifically, for the agent, define:
Call times — the time slots during which the agent can make calls. Always set these, even if you launch in the morning: a long campaign continues into the following days.
Frequency — how many calls per minute or per hour. Setting it lower at the start allows you to listen in on the first few conversations before hundreds of them begin.
Retry attempts and interval between attempts — how many times to retry with those who don’t answer and how long to wait. Calling back after hours, not minutes, prevents the contact from perceiving the call as pushy.
5. Decide when to start
You can launch the campaign immediately or schedule it for a specific date and time.
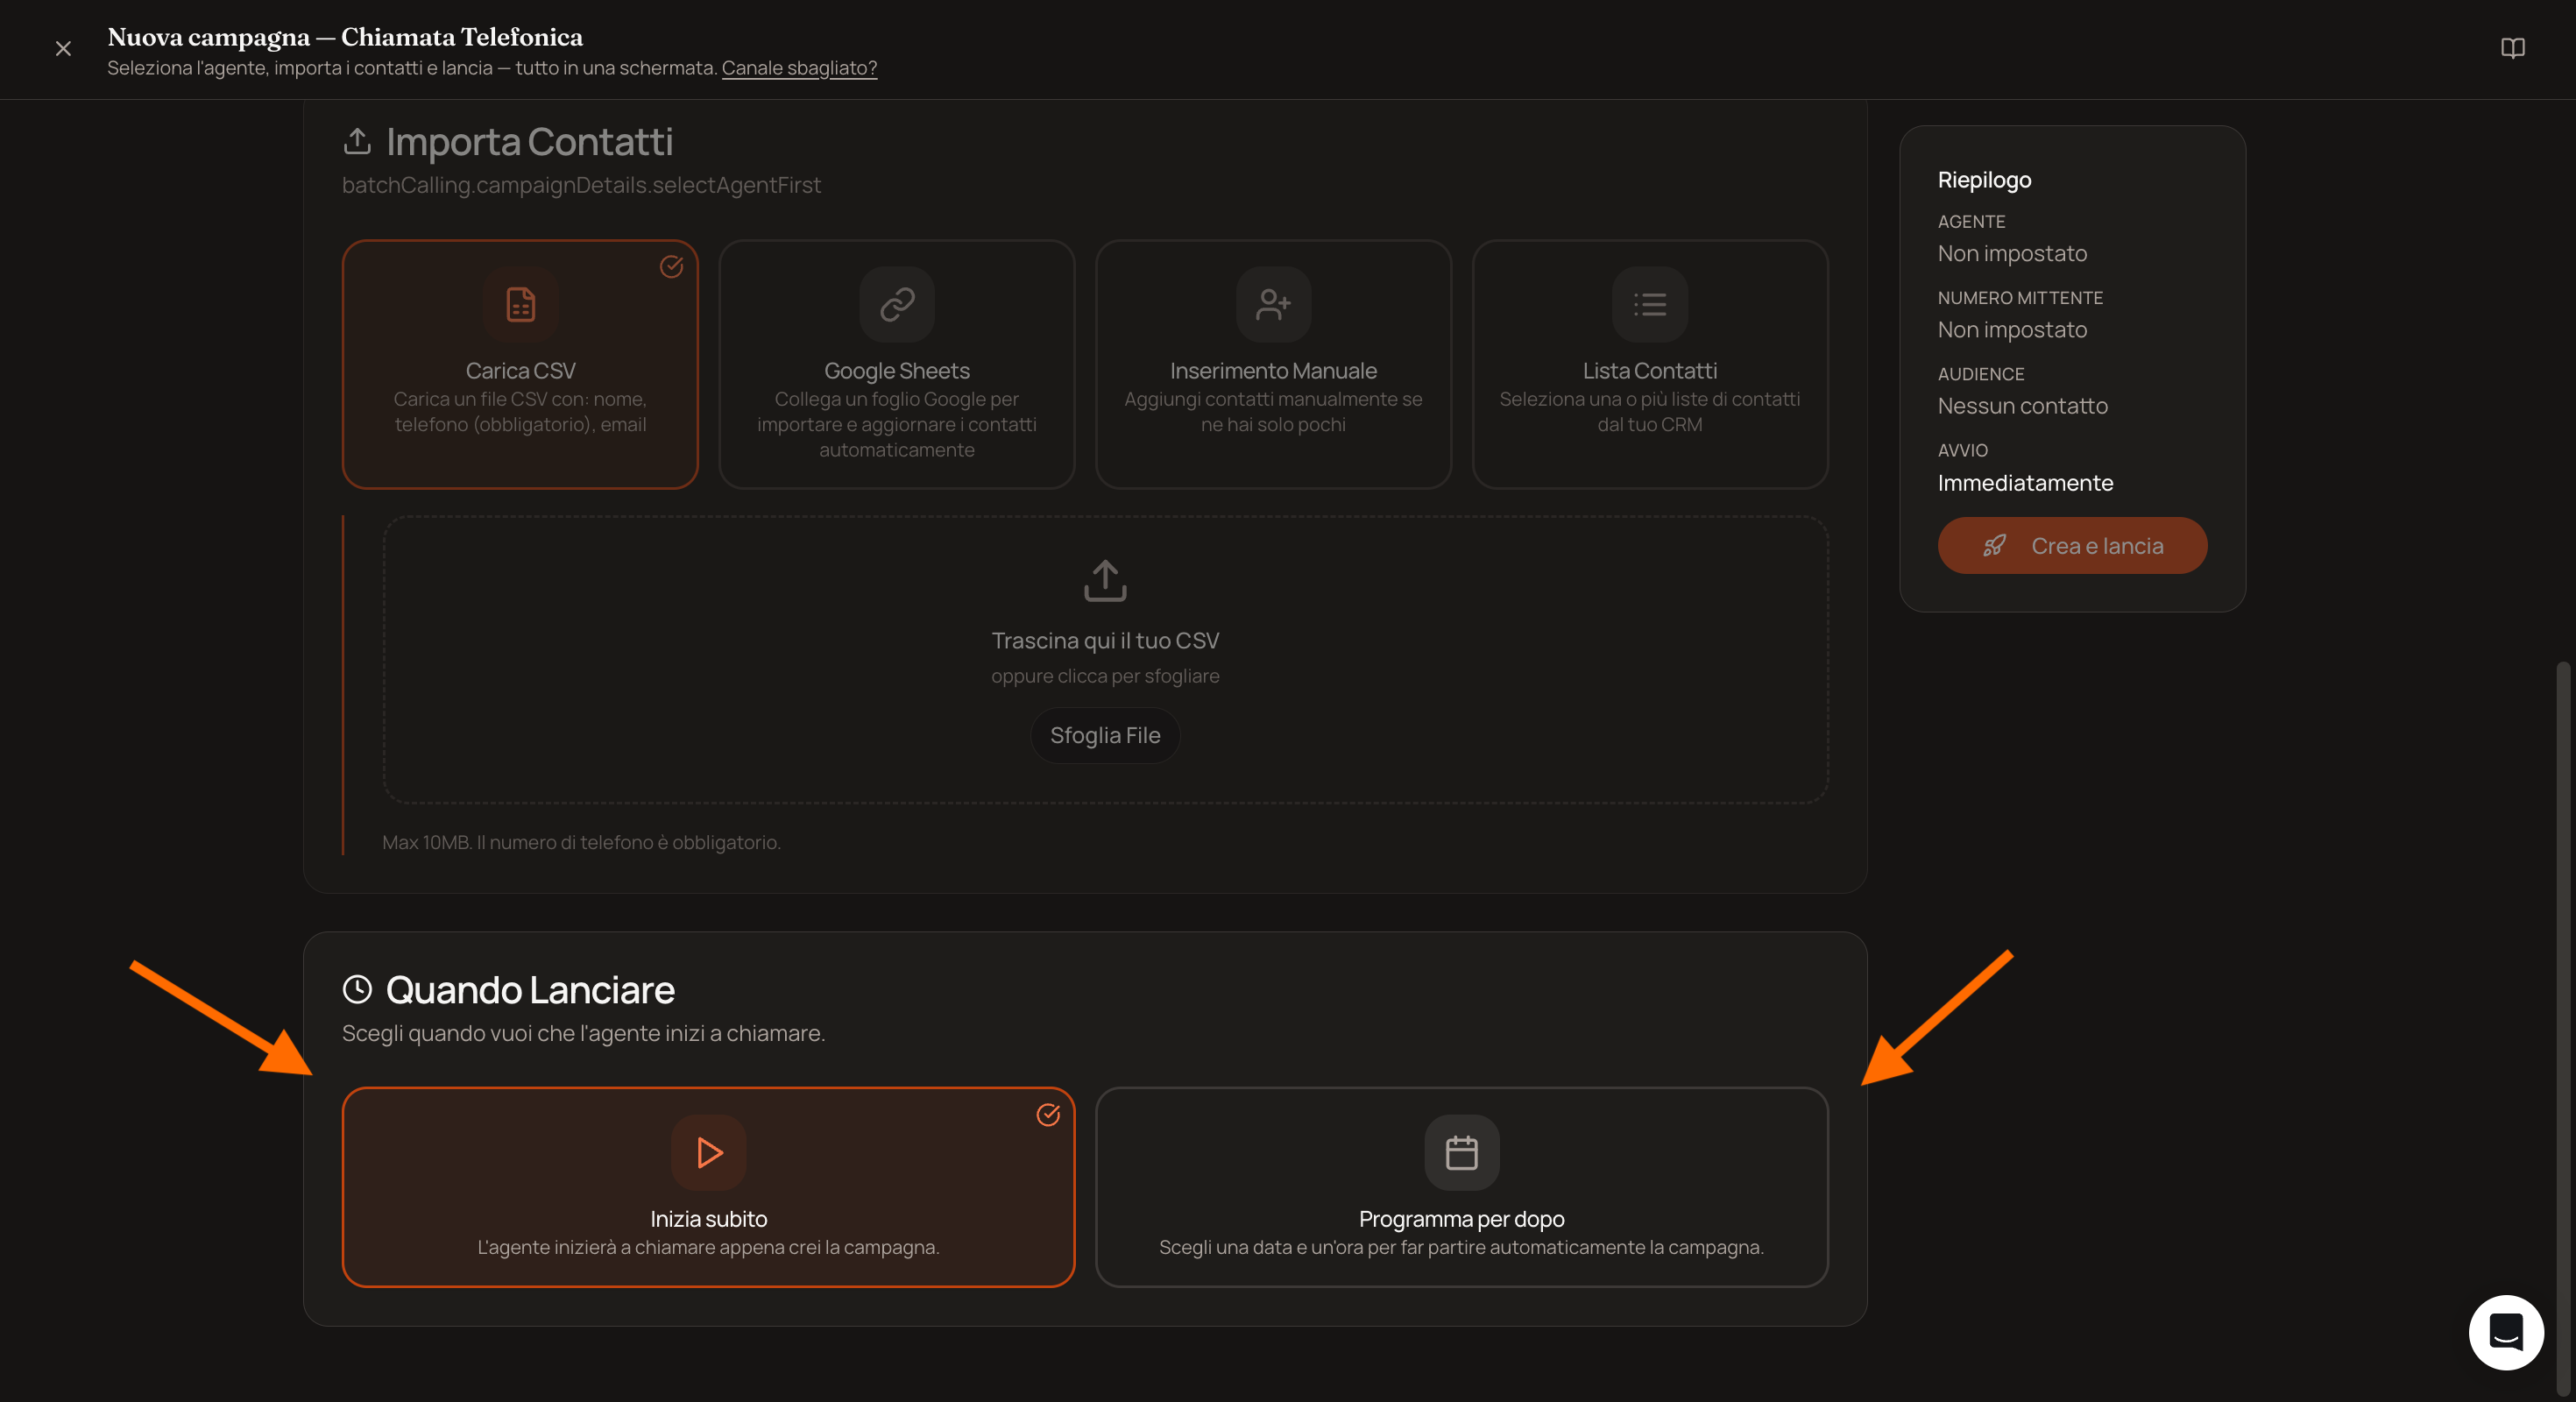
Two key points to keep in mind:
💡 Scheduling the launch for early morning is convenient, but make sure you’re available during the first half-hour to listen in on a few calls. That’s when issues tend to surface.
💡 Never launch a new campaign without first making a test call to the agent. The worst time to discover that the agent is using the wrong name is on the 100th call.
Limits to Be Aware Of
We recommend between 500 and 1,000 contacts per campaign: shorter lists are easier to monitor and pause.
Simultaneous calls range from 10 to 30. It’s best to start at a moderate pace to avoid system overloads.
⚠️ Sales calls are regulated. In Italy, you’re required to comply with the Public Opt-Out Registry. You’re responsible for the list: DeepAgent calls the numbers you upload.
Related Articles
Prepare your list of contacts to call
The Advanced Builder Step-by-Step
How to Test the Agent Before Launching It
Launch, pause, and stop the campaign
Was this helpful?
Still need help? Share an idea