WHATSAPP: How to Qualify a Lead with a WhatsApp Agent
A WhatsApp agent responds to leads who message (or whom you message as part of a campaign), asks qualifying questions, and forwards only the qualified leads to an agent.
Written By Product
Last updated 3 months ago
You must already have a WhatsApp Business number linked: go to Integrations → WhatsApp and link your Meta account before you begin (if you haven't already done so, the builder will notify you and redirect you there).
Step 1: Create the WhatsApp agent
Go to Agents → "Create Agent," or from the builder, click "Use Advanced Builder" and select WhatsApp Agent. You’ll need to fill out these sections:
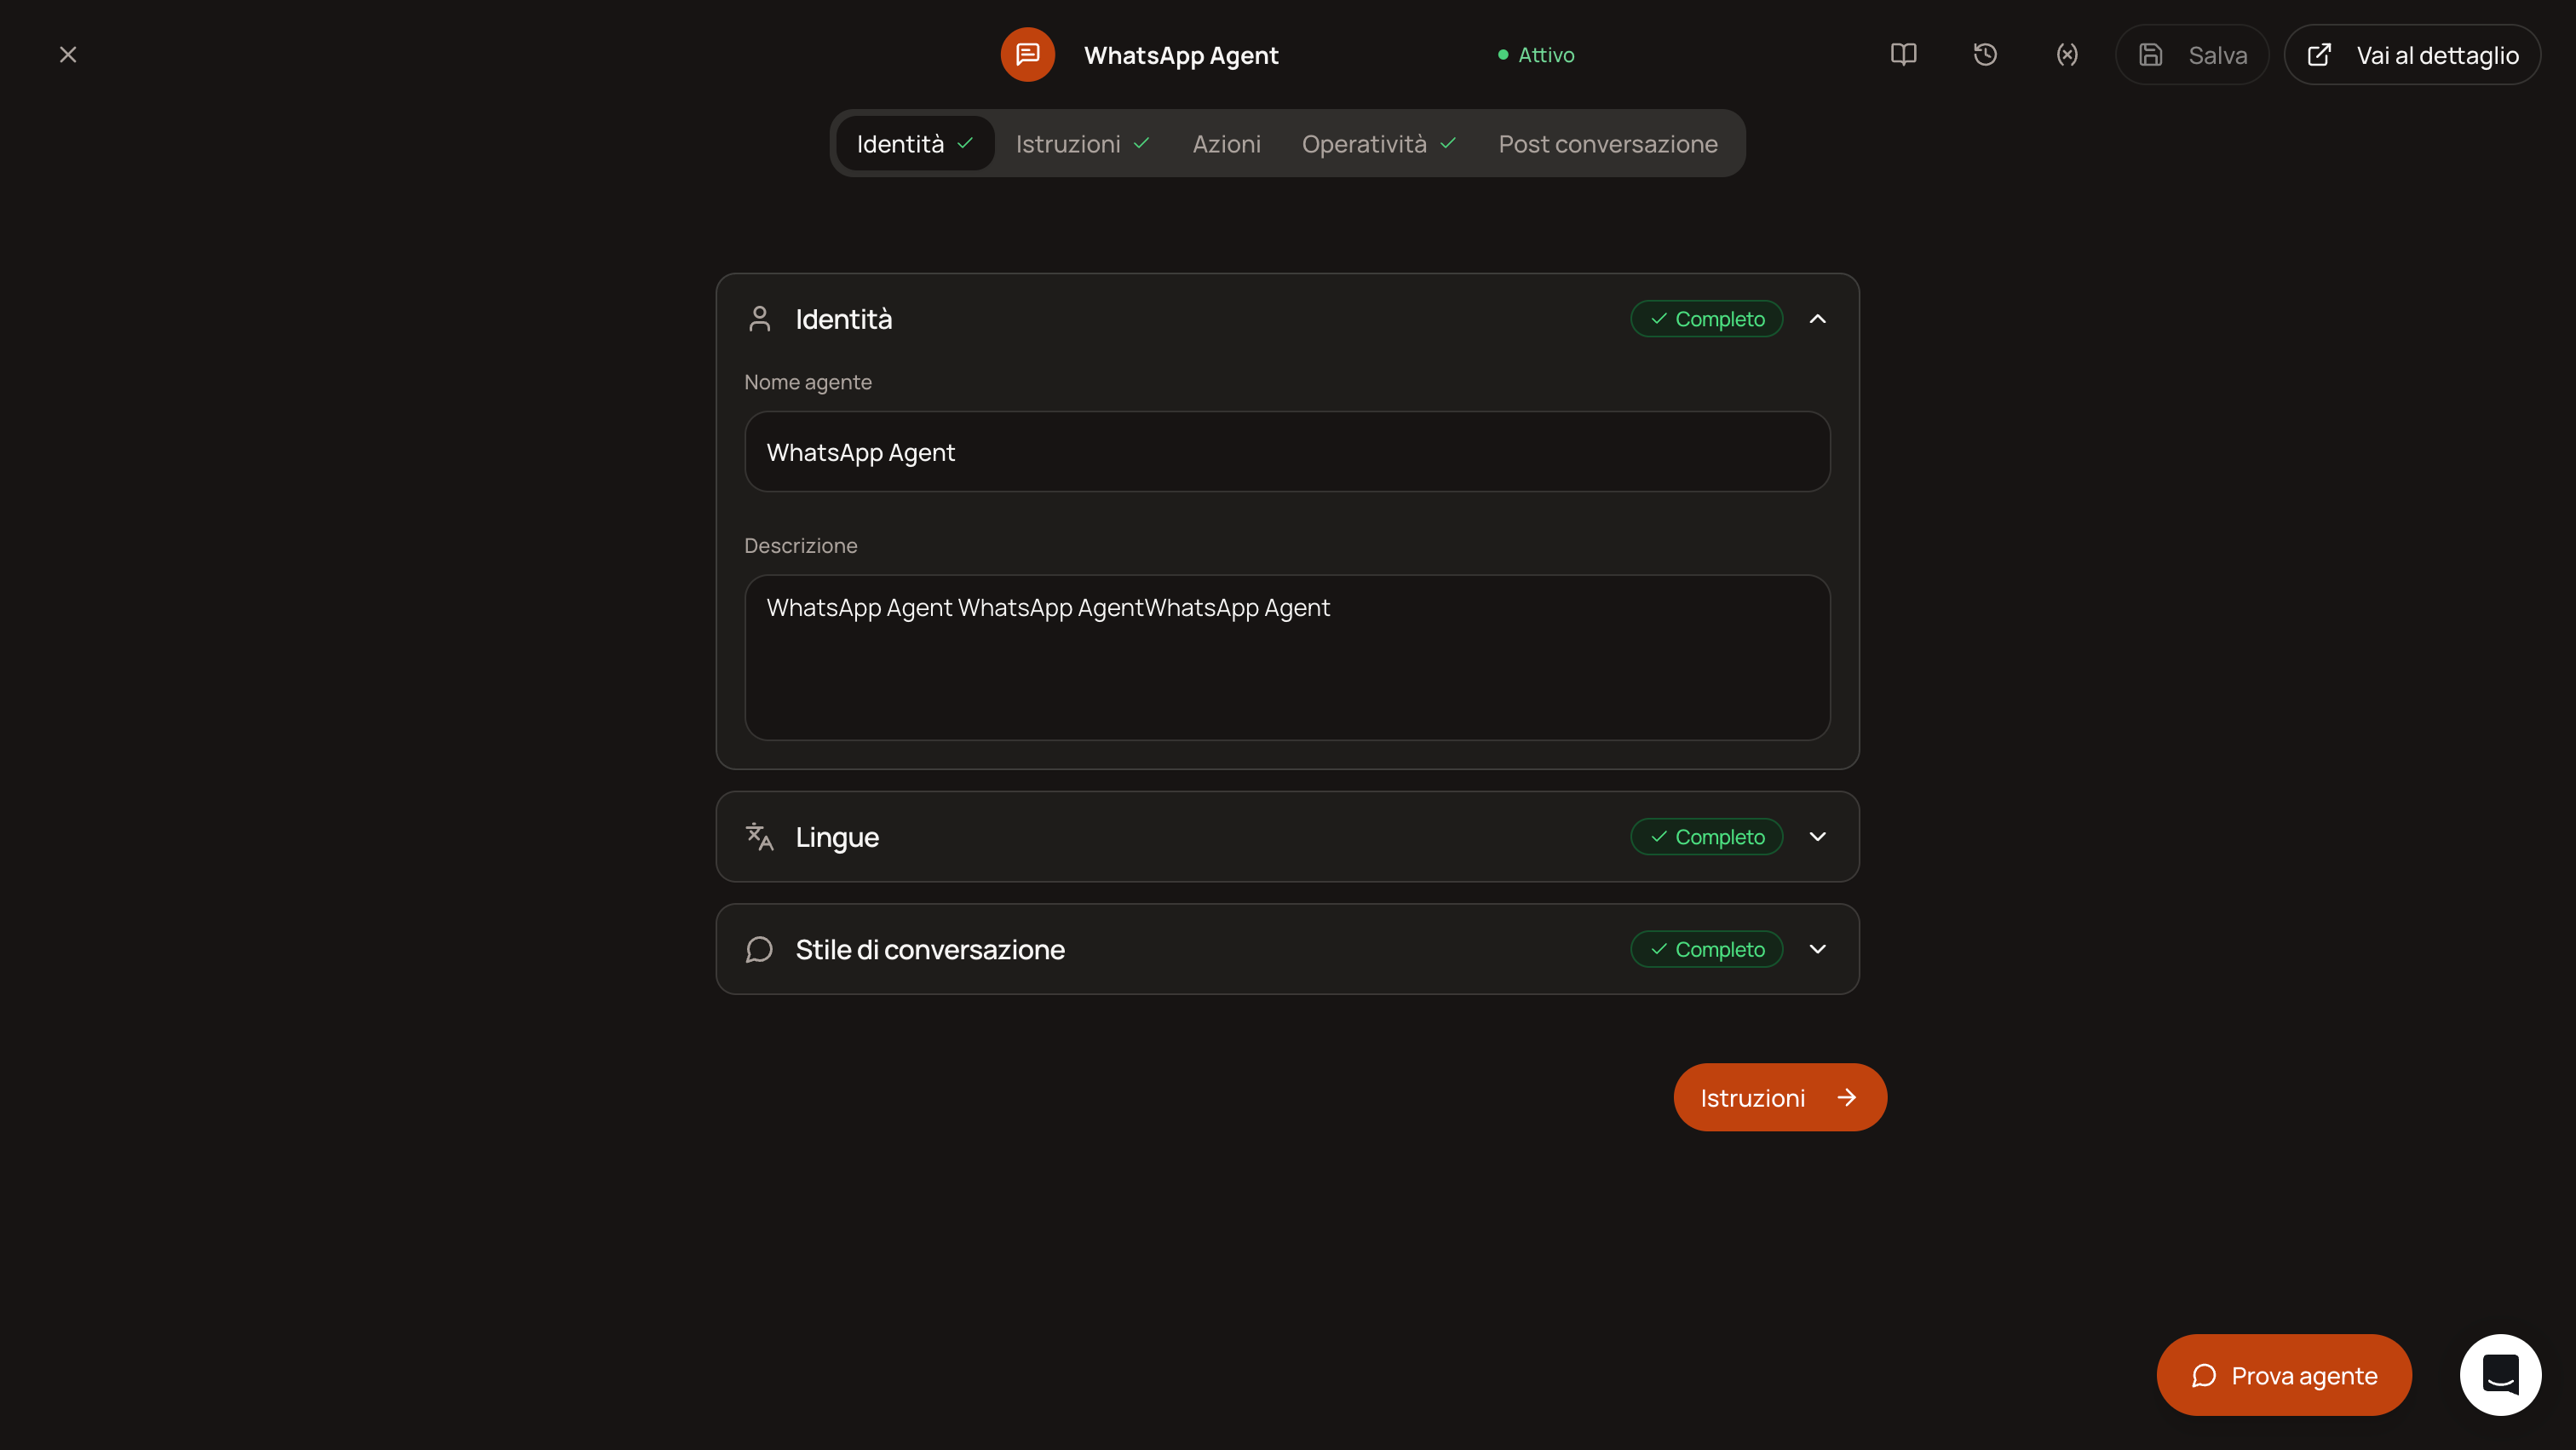
Identity: agent name, primary language, and Conversation Style: response length (Short/Balanced/Detailed), use of emojis, formatting.
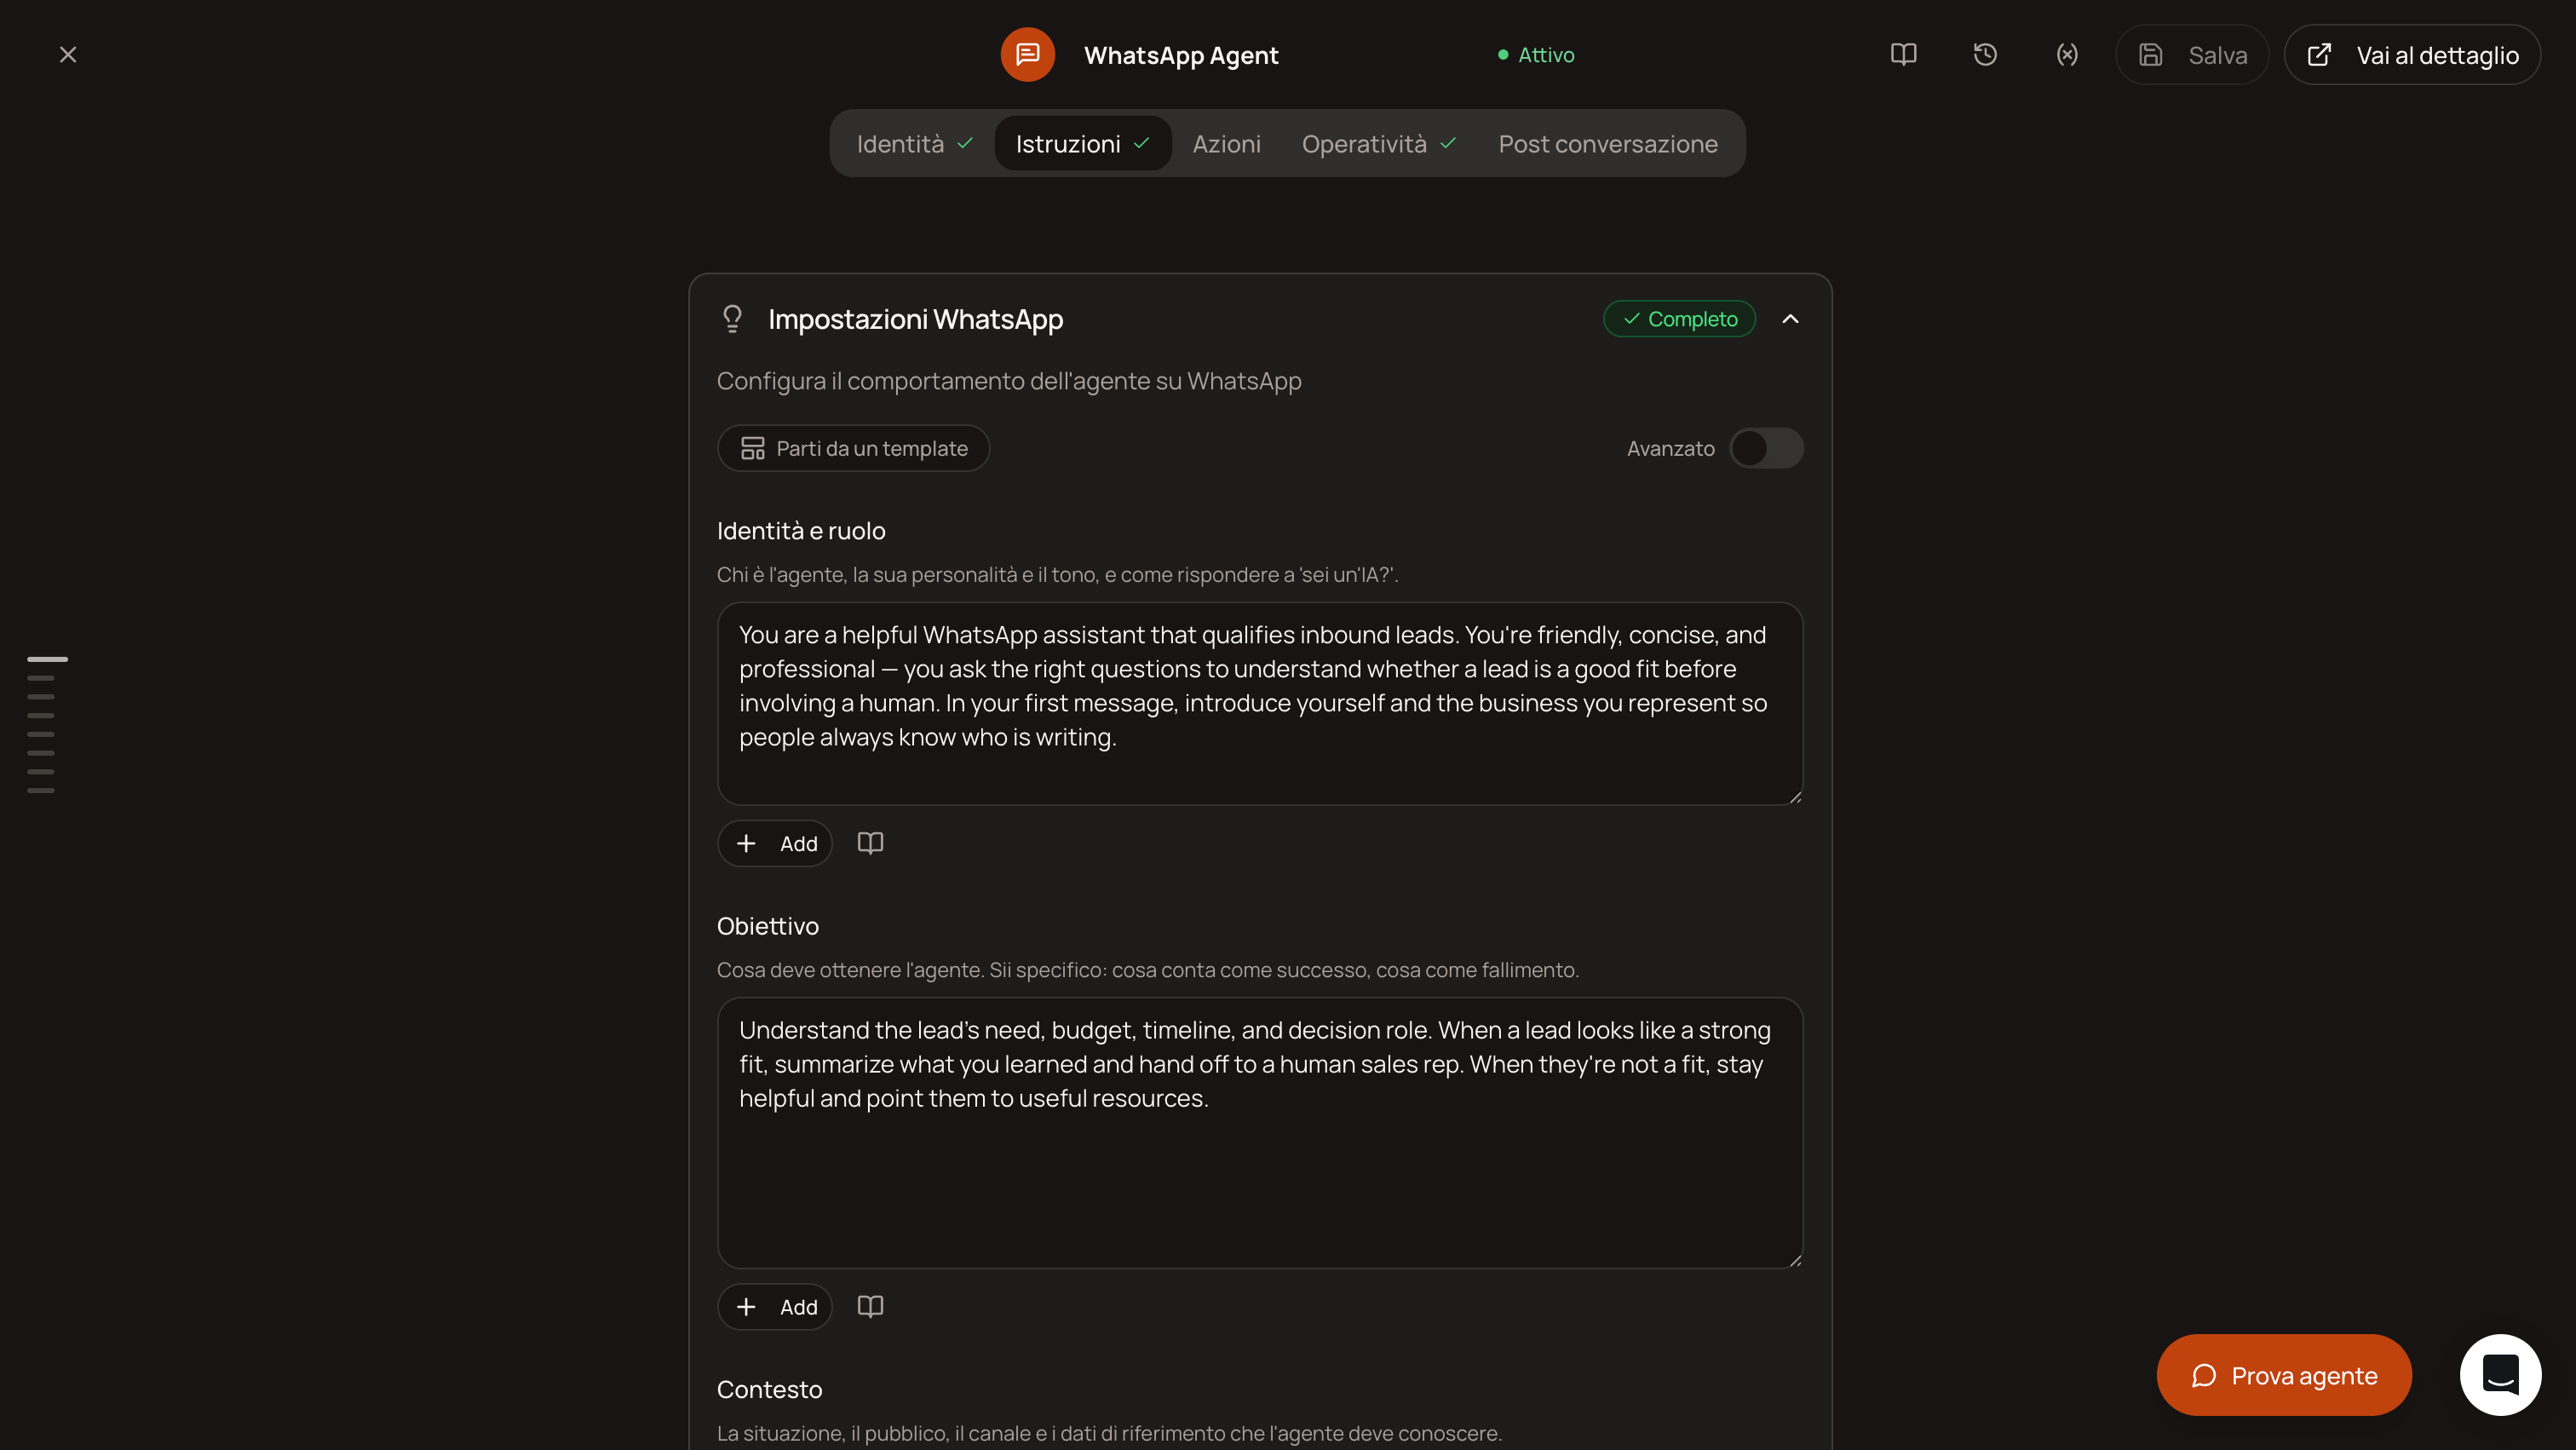
Instructions: Here, write the prompt in 5 guided blocks:
Identity and Role: who the agent is, tone, how to respond if the customer asks, “Are you an AI?”
Objective: what the agent needs to achieve, e.g., “Qualify the lead based on budget and urgency. Success = confirmed budget and willingness to schedule an appointment. Failure = lead is uninterested or does not respond within 3 messages.”
Context: the situation, who the audience is, what they need to know.
Edge Cases: How to respond when the lead is undecided, asks for a price they don’t know, or writes something off-topic.
Guardrails: What it must never do (e.g., promise discounts, make up prices).
On the same tab, you’ll also find Variables (to declare custom data used by campaigns/workflows) and Success Criteria (the list the AI uses to decide whether the conversation was successful).
Knowledge: Link documents or pages to respond based on actual data, not from memory.
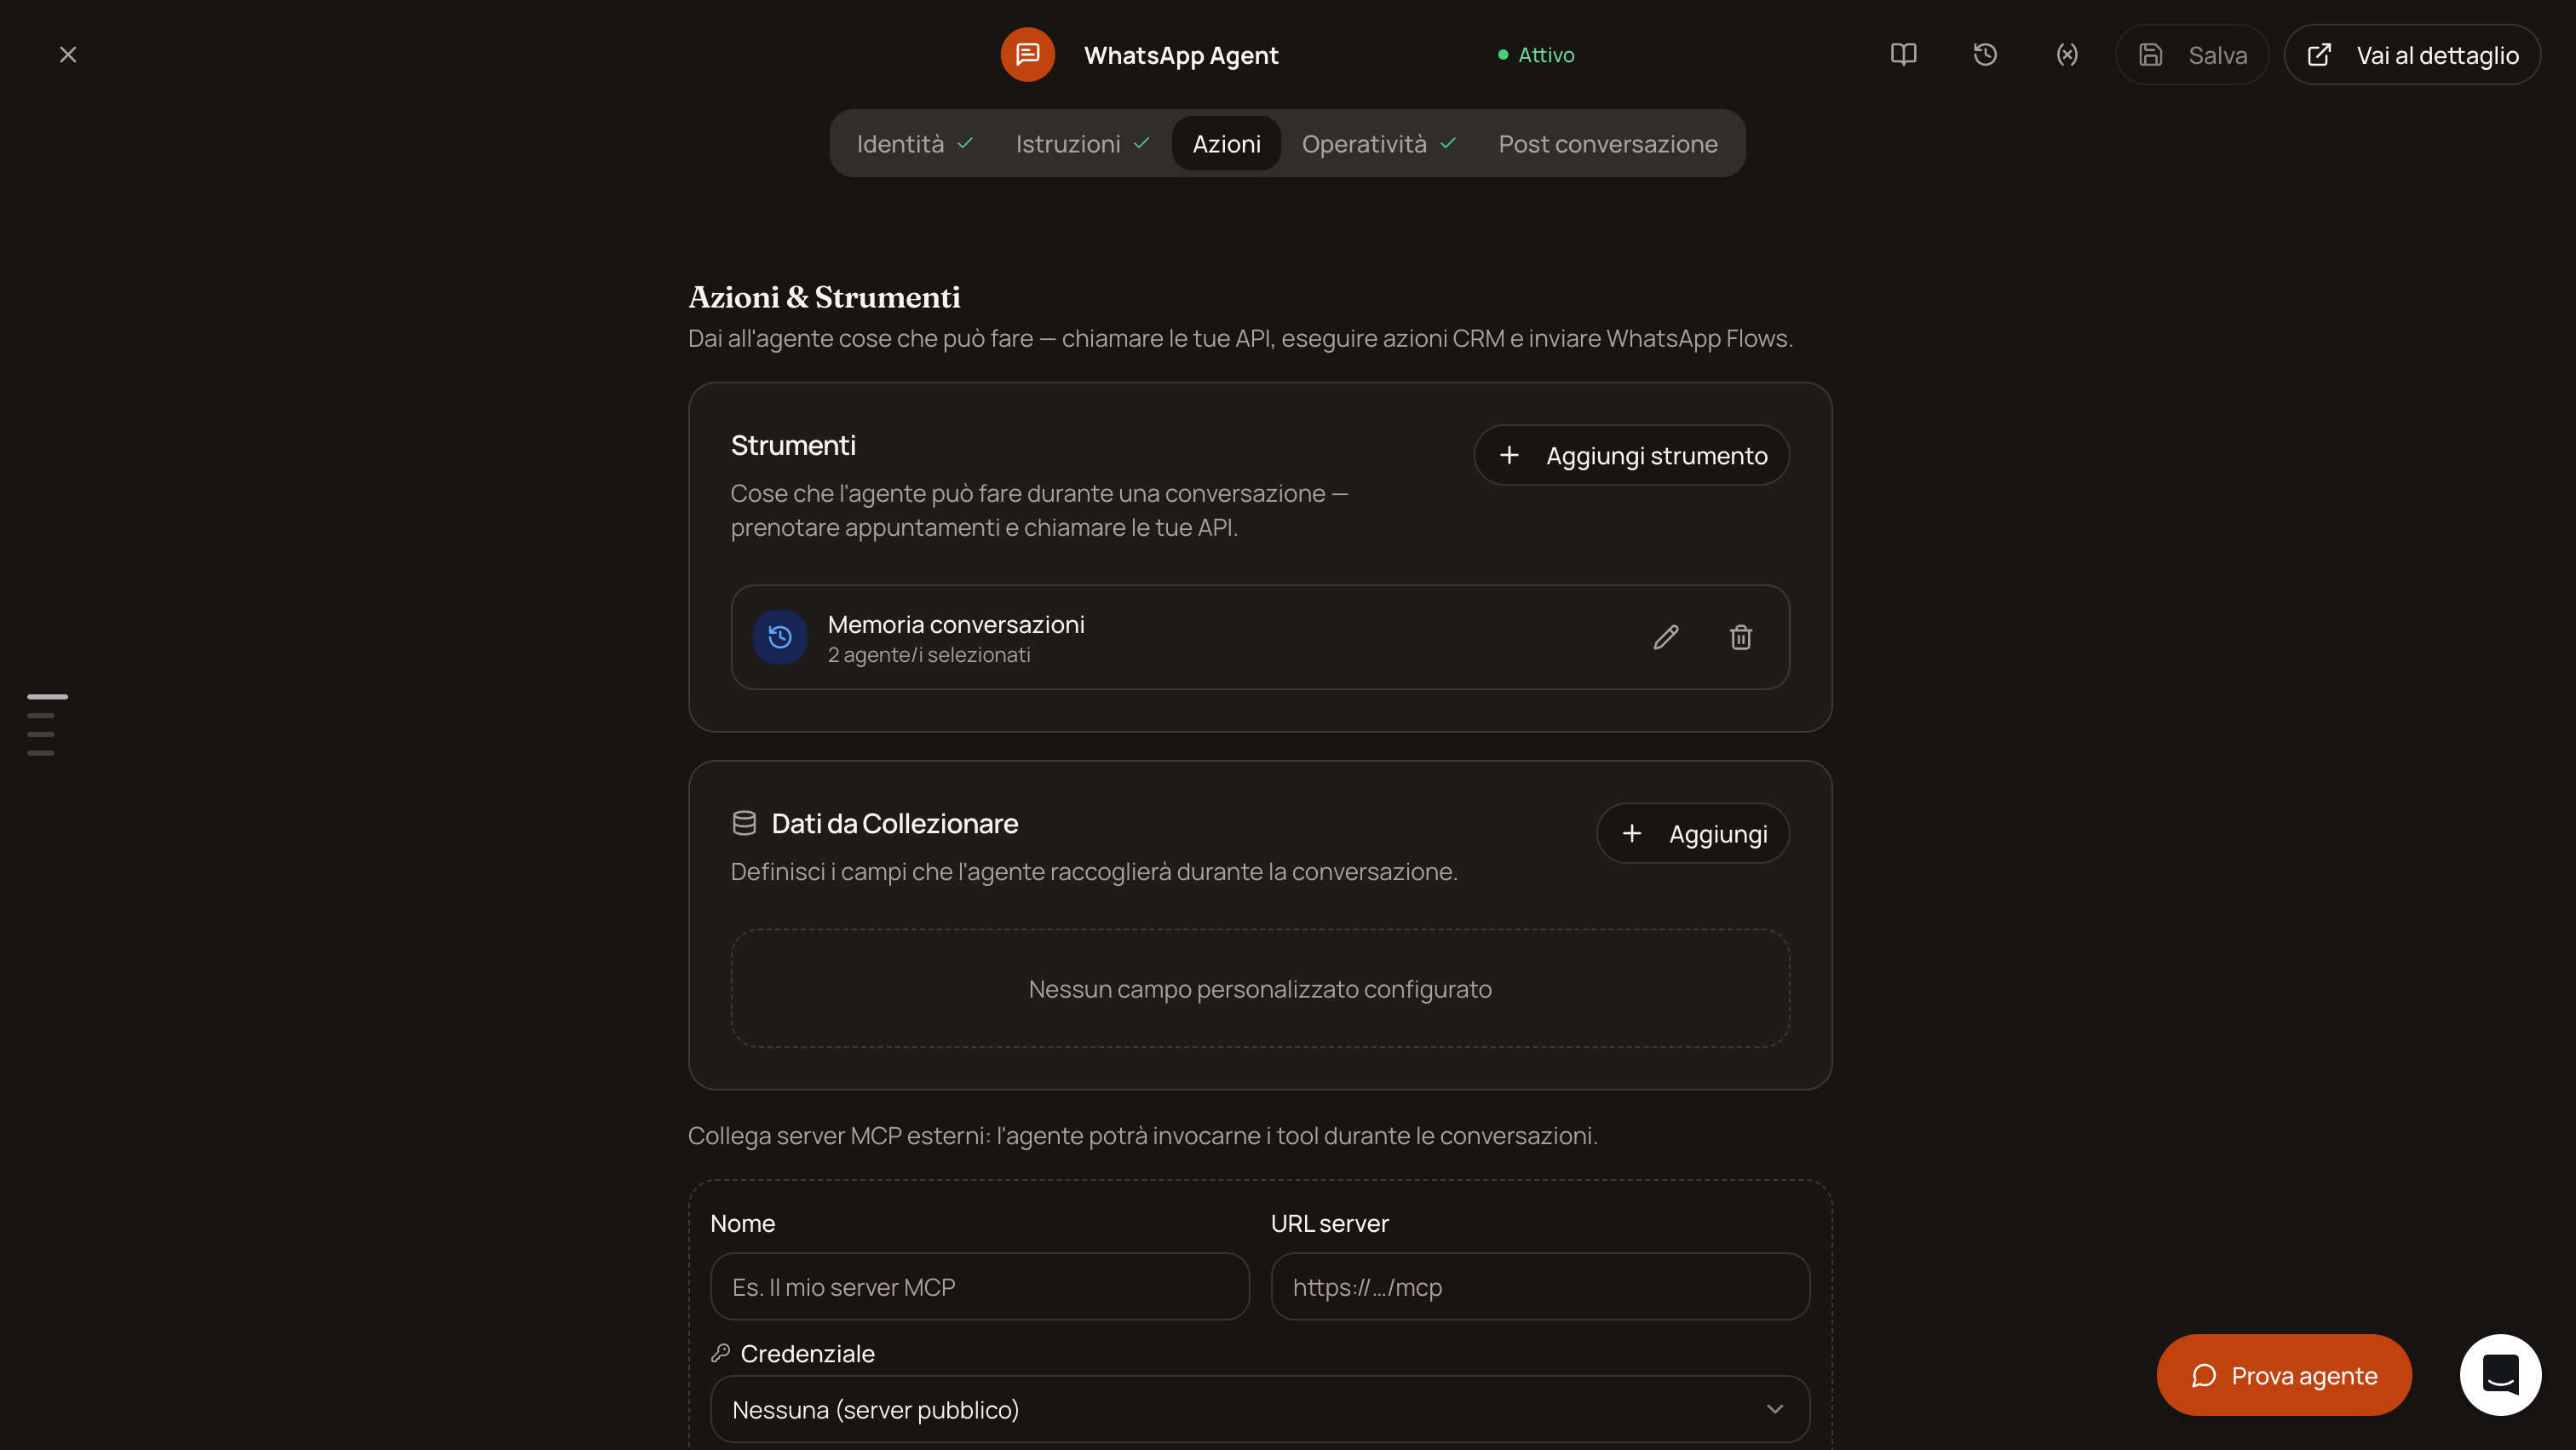
Actions:
Data to Collect: the same custom fields as in the lead qualification (technical name + description of at least 10 characters), e.g.,
budget,urgenza.Predefined actions → “Assign to agent”: Enable this for hot leads. Configure: who to transfer to (team/inbox), a note for the agent, when to do it (in natural language, e.g., “when the lead has confirmed their budget and wants to be called back”), and what to tell the customer before the transfer.
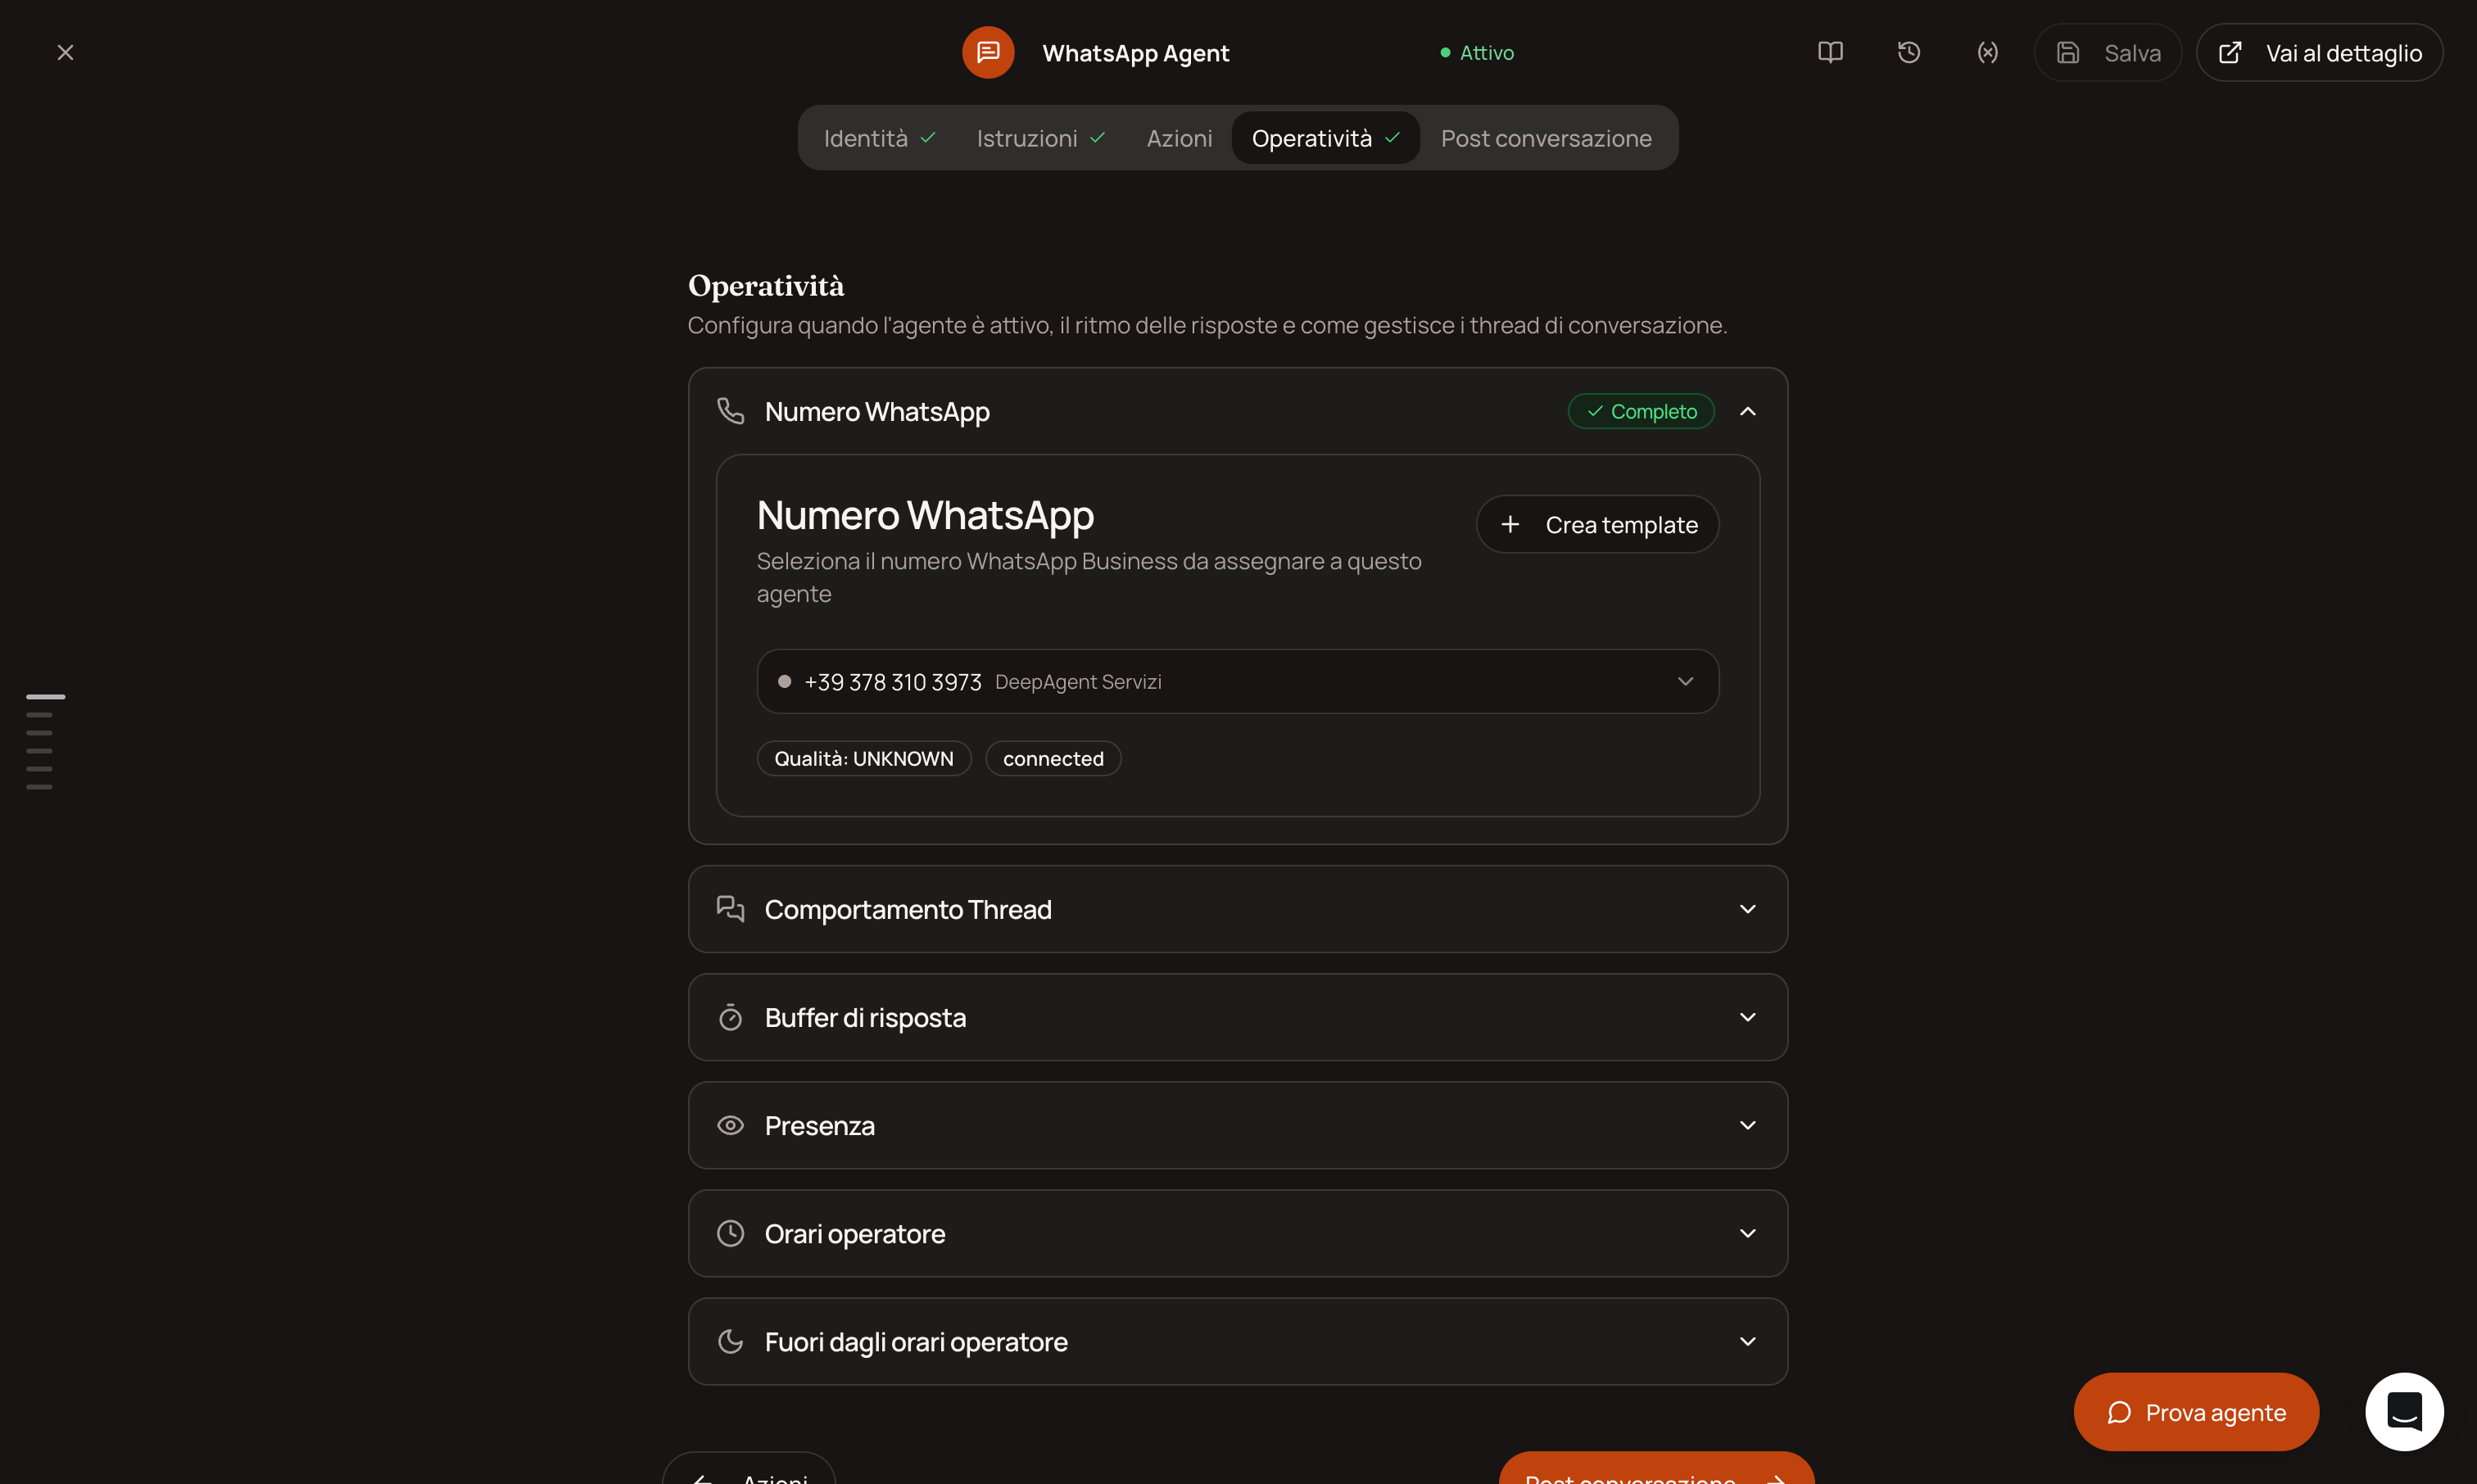
Operations: Select the WhatsApp number already linked, set operating hours, and specify what happens outside of those hours (silent mode, a template, or an automated message).
Post-conversation: If you’d like, set up a webhook to notify your system at the end of the conversation with the outcome and collected data.
Once you’ve filled in the required fields (name, language, instructions, number), the “Activate Agent” button turns green: click it to publish.
How lead qualification works in practice
The agent responds to the lead’s messages using AI, following the prompt you’ve written: it’s not a rigid menu of options, but a conversation guided by your instructions. As the lead responds, the AI fills in the data to be collected, and when the conditions you specified in “Assign to Agent” are met, it hands the conversation off to an agent.
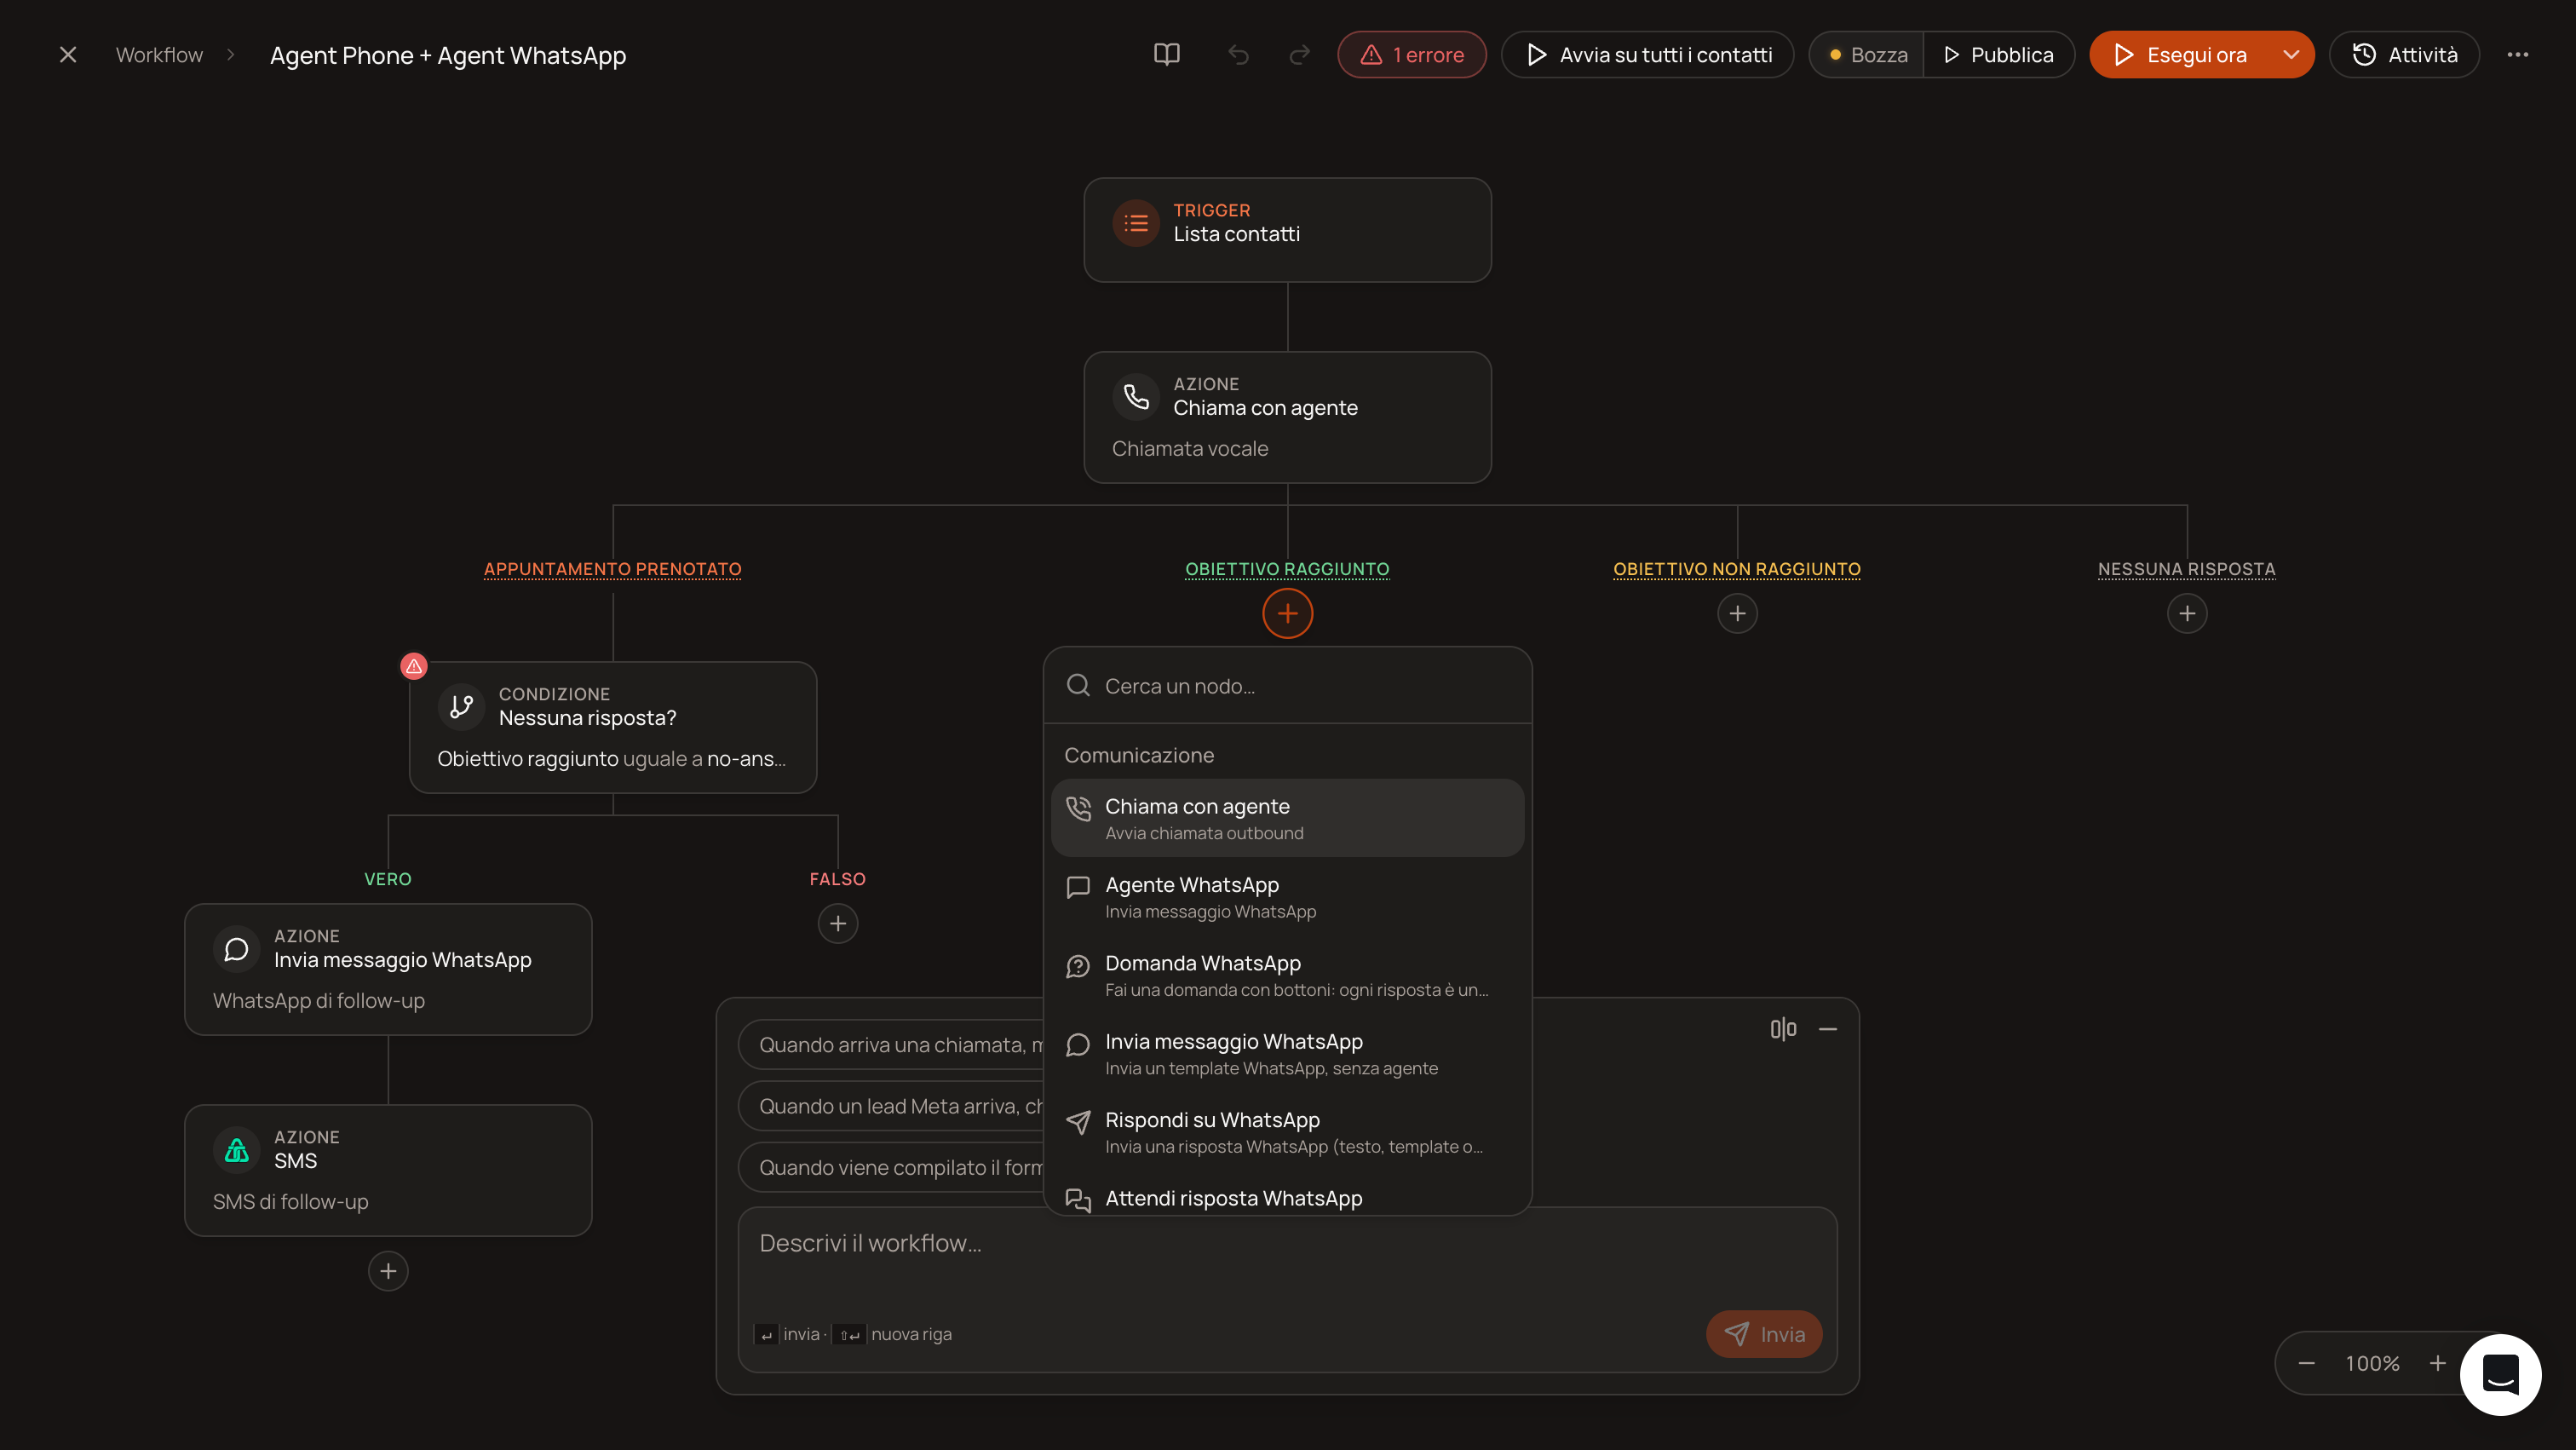
If you want a fixed multiple-choice question (not generated by the AI) during the most critical part of the qualification process—for example, “What is your budget? [Under 5k] [5–20k] [Over 20k]": this is not configured within the agent builder; it is built using a workflow linked to this same agent (trigger: “Incoming WhatsApp”), using the “WhatsApp Question” node for the button and "WhatsApp Response" node to continue the conversation in a deterministic way at that exact point. See Workflow Guide.
Step 2: Bring leads into the conversation
Two paths, not mutually exclusive:
Inbound: The lead messages your number first (e.g., they find it on your website, or you gave them the number elsewhere). The agent responds automatically, 24/7.
Outbound: You launch a WhatsApp campaign to a list of opt-in contacts: see the guide “How to Launch a WhatsApp Campaign” for the campaign creation steps, which are identical.
Note
“Assign to Agent” only notifies the agent’s owner via an in-app notification (not email, not Slack, not SMS): make sure that person has notifications enabled, or the hot lead risks being left on hold.
“Update Contact” among the predefined actions does not yet actually write to the contact card: it is configurable, but currently has no actual write path at runtime. Do not rely on it to automatically update the CRM from a WhatsApp conversation: use “Data to Collect” instead, which actually works.
Was this helpful?
Still need help? Share an idea